Why do I need a VPN
Apart from protecting a user’s privacy when they’re connected to, for example, a public WiFi, a Virtual Private Network (VPN) also has other benefits and use cases. I use a self-hosted VPN to be able to connect to my home network from outside to manage homelab servers or connect to a machine using remote-desktop. This is beneficial since I don’t have to expose the web interfaces of manager-tools to the internet, which could pose a huge security risk. Note that I’m not promoting commercial VPN service providers since most of them are garbage and you can never know if or if not they’re unwillingly collecting your data.
On what I will install it on
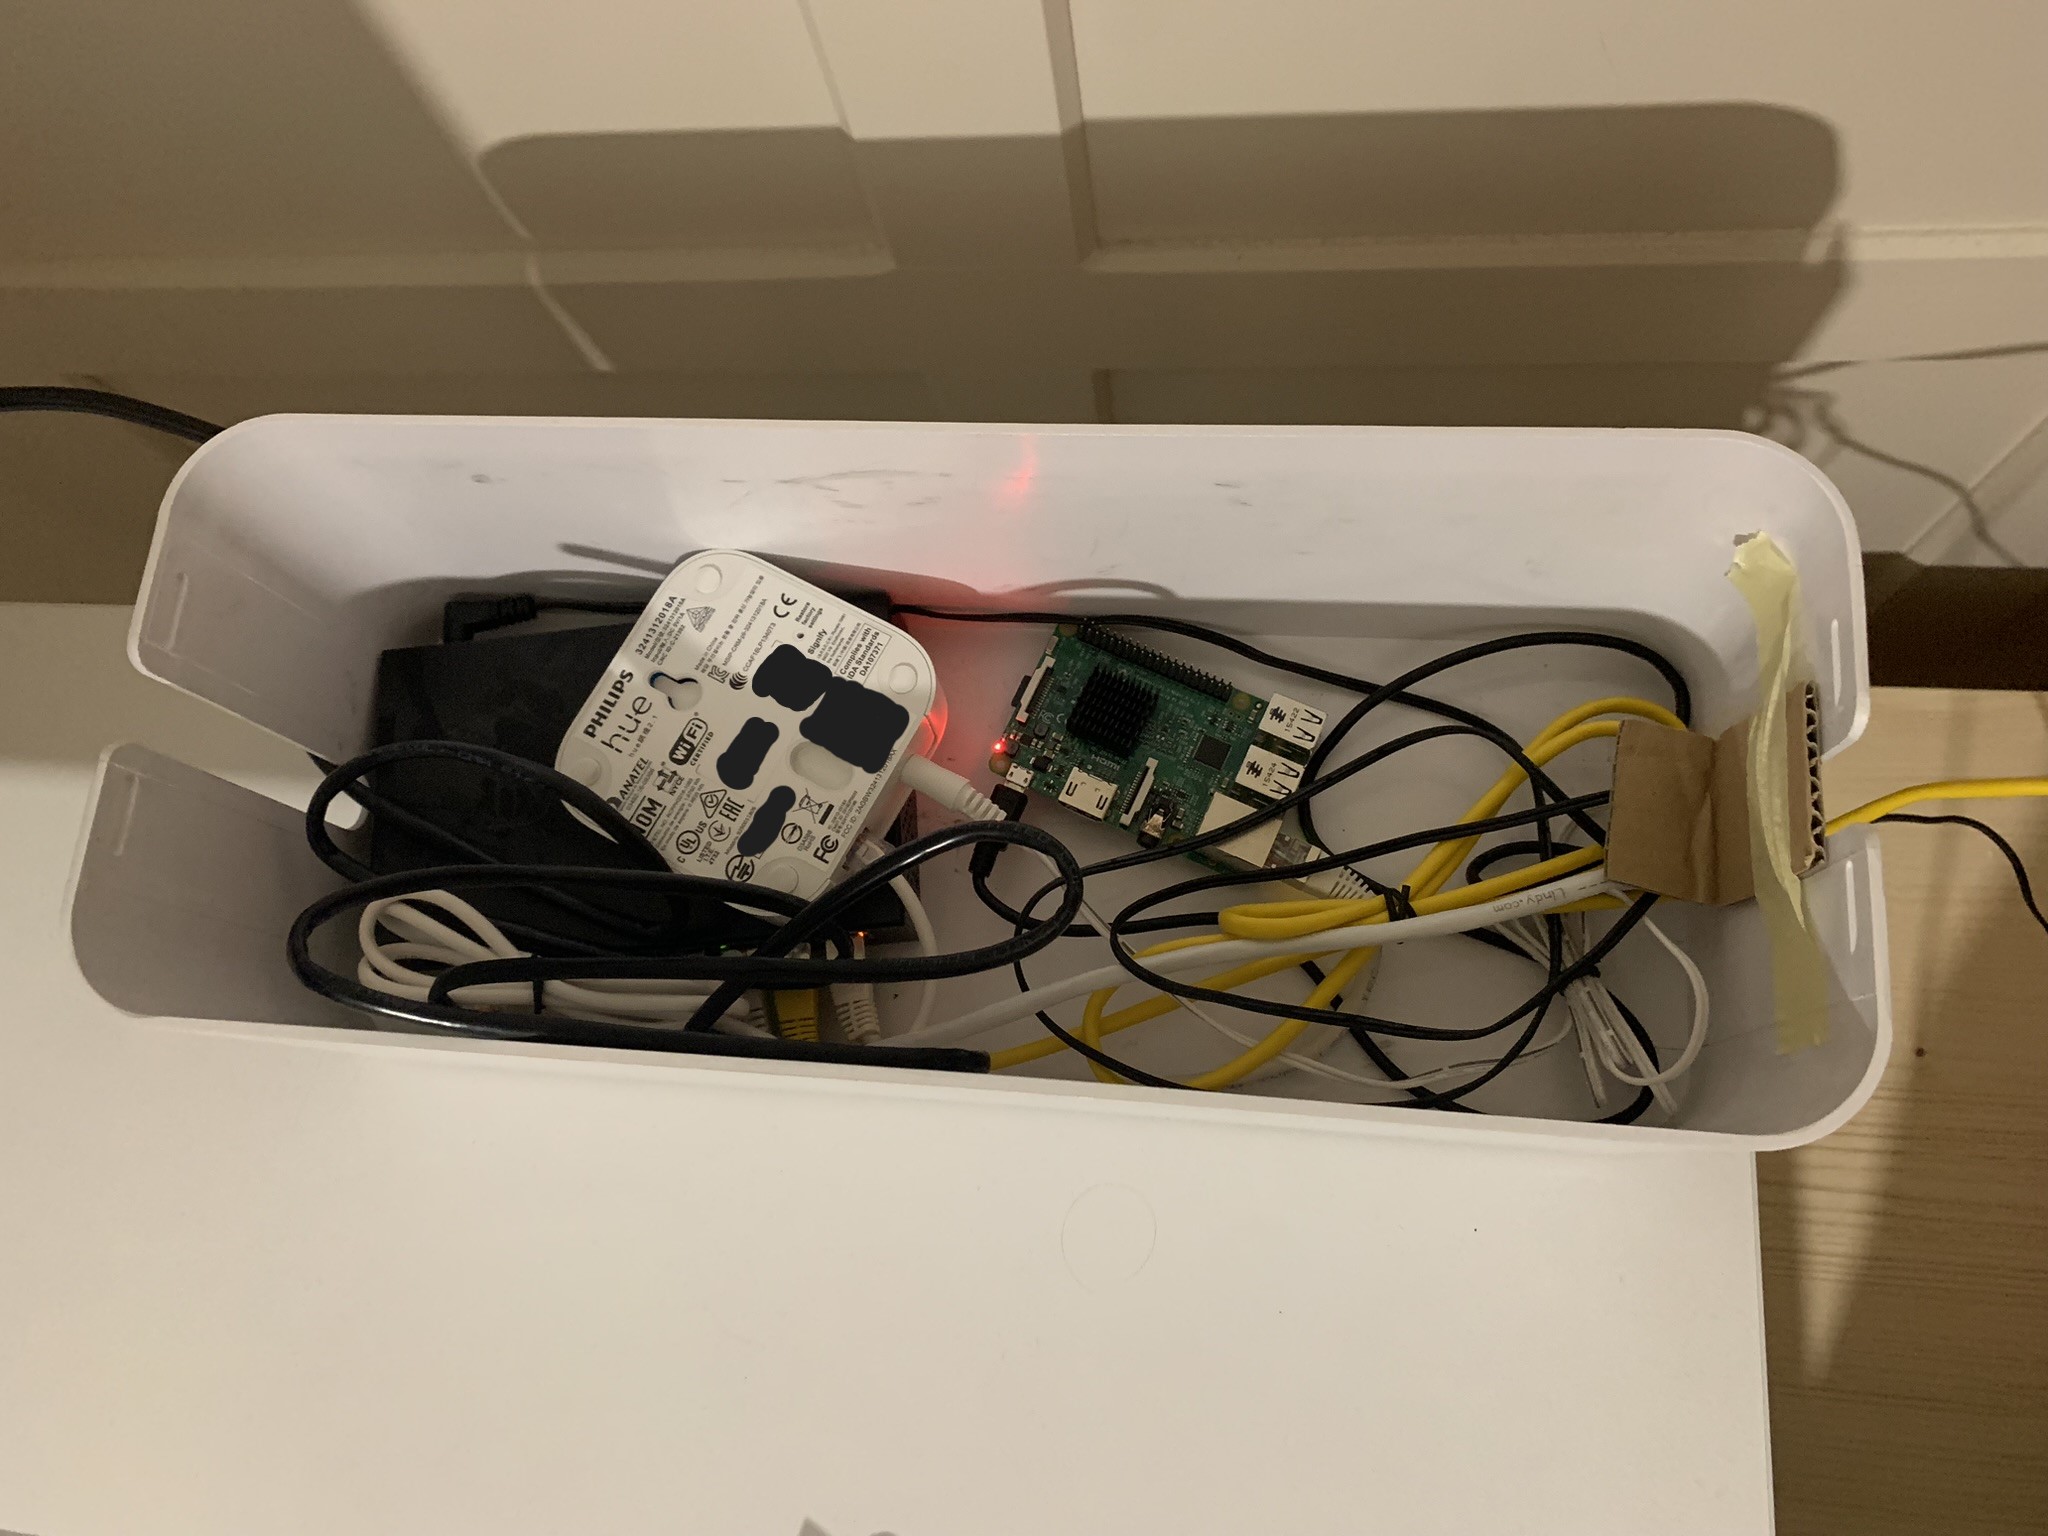
I will install an OpenVPN server on my Raspberry Pi with Ubuntu, which I mainly use for Homebridge. I always use SSH for convenience to connect to the Raspberry Pi shell, but you could also do it with a keyboard and a monitor directly.

Installation
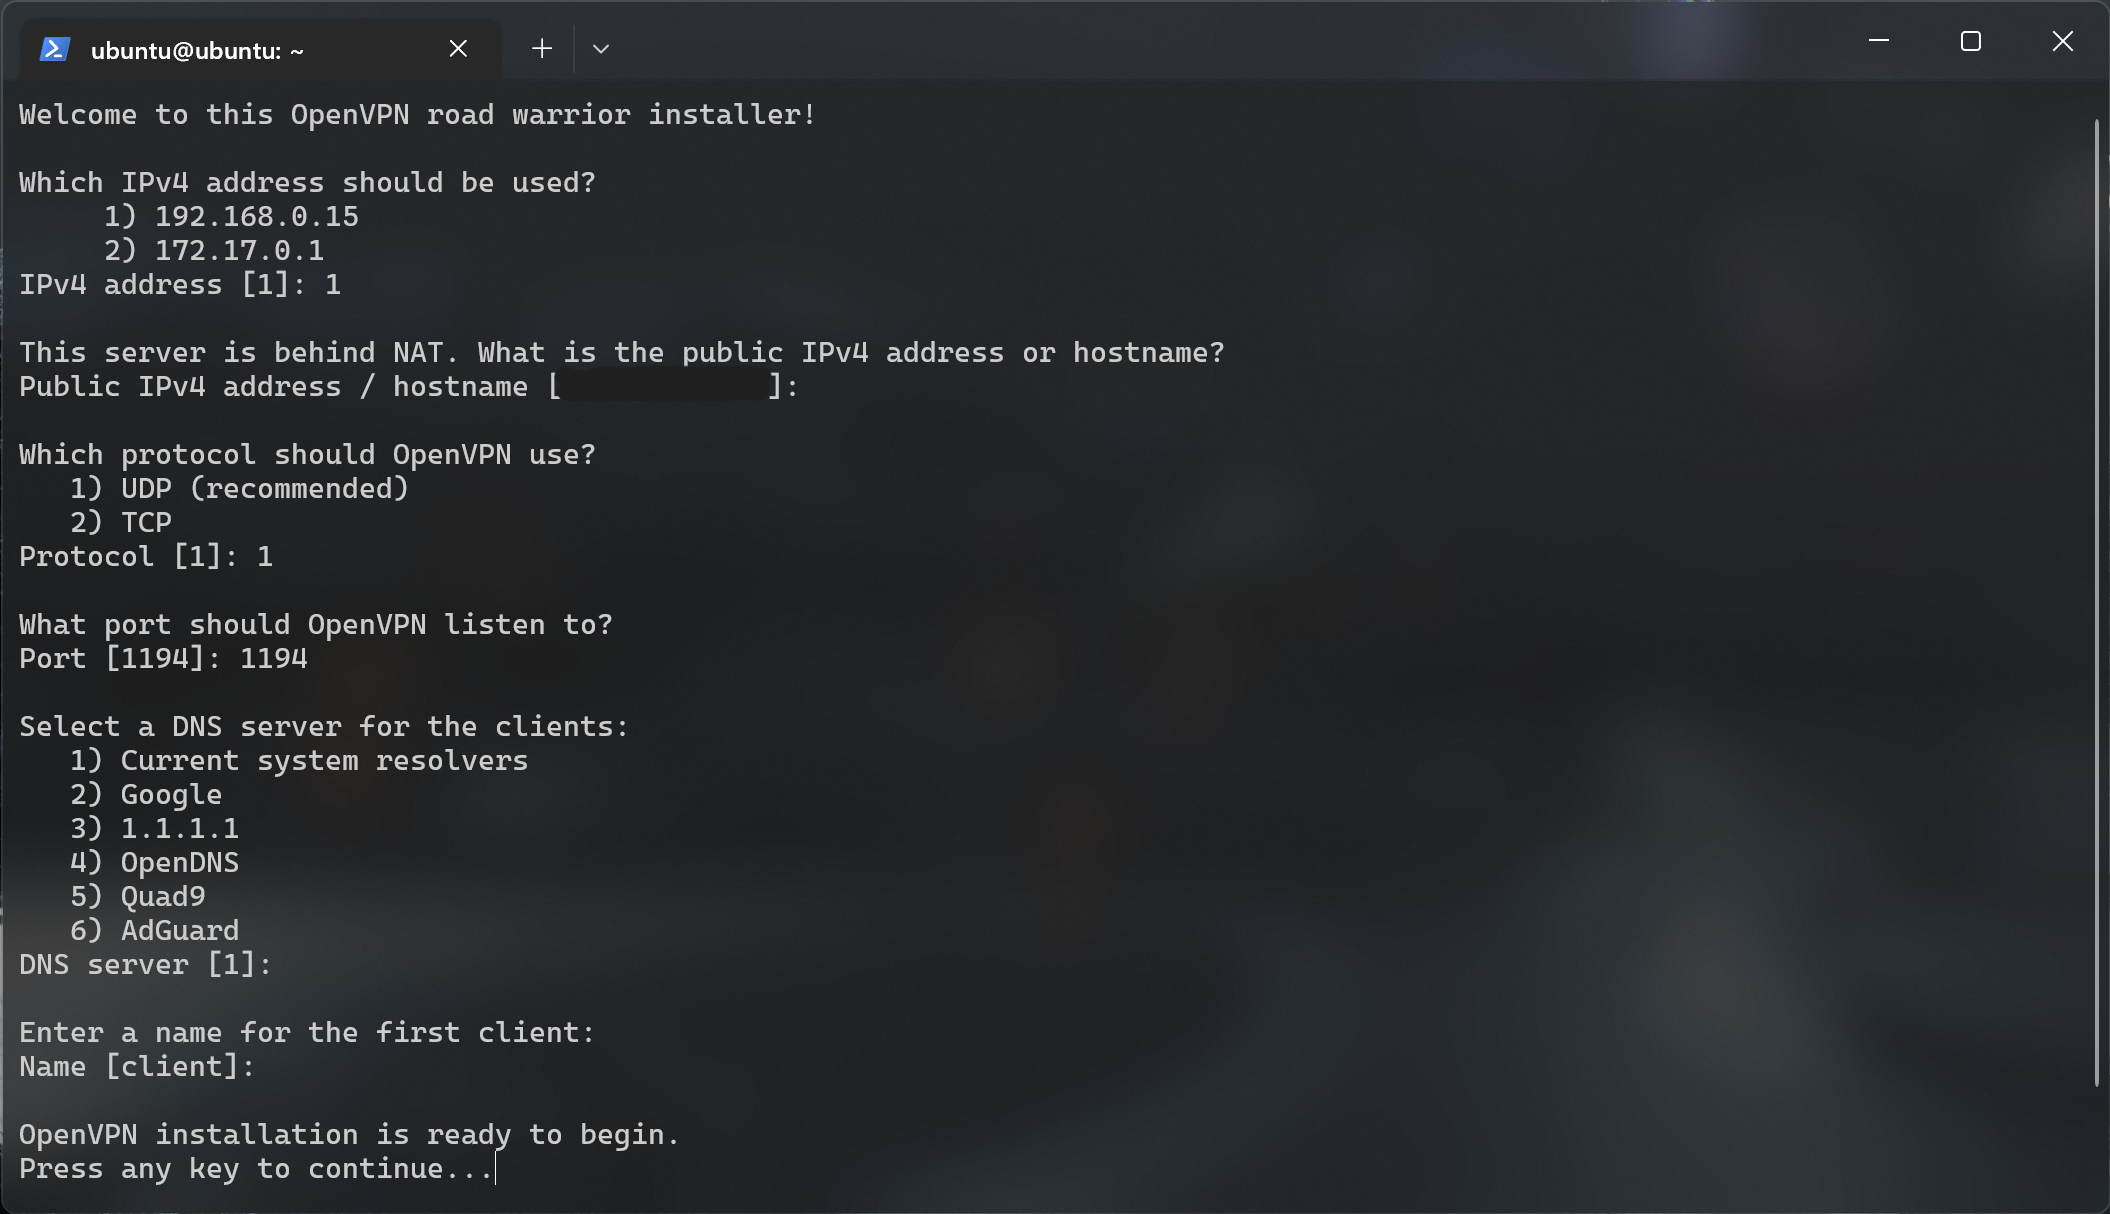
For the installation, I like to use this install script, which has been around for nine years. To download and run the install script, you can execute this command:
wget https://git.io/vpn -O openvpn-install.sh && sudo bash openvpn-install.shChoose how you would like to configure your OpenVPN server and continue.

After installing, check if OpenVPN is running with the following command:
sudo systemctl status openvpn-server@server.serviceExporting Config Files for Connecting
Run the following command to output your configuration file. You will need it later for connecting. Also make sure to use configuration name entered in the installation process.
sudo cat /root/client.ovpnNow, you can copy the output and paste it into a .ovpn file on the computer which will be the VPN client.
Configuring Port Forwarding Rules
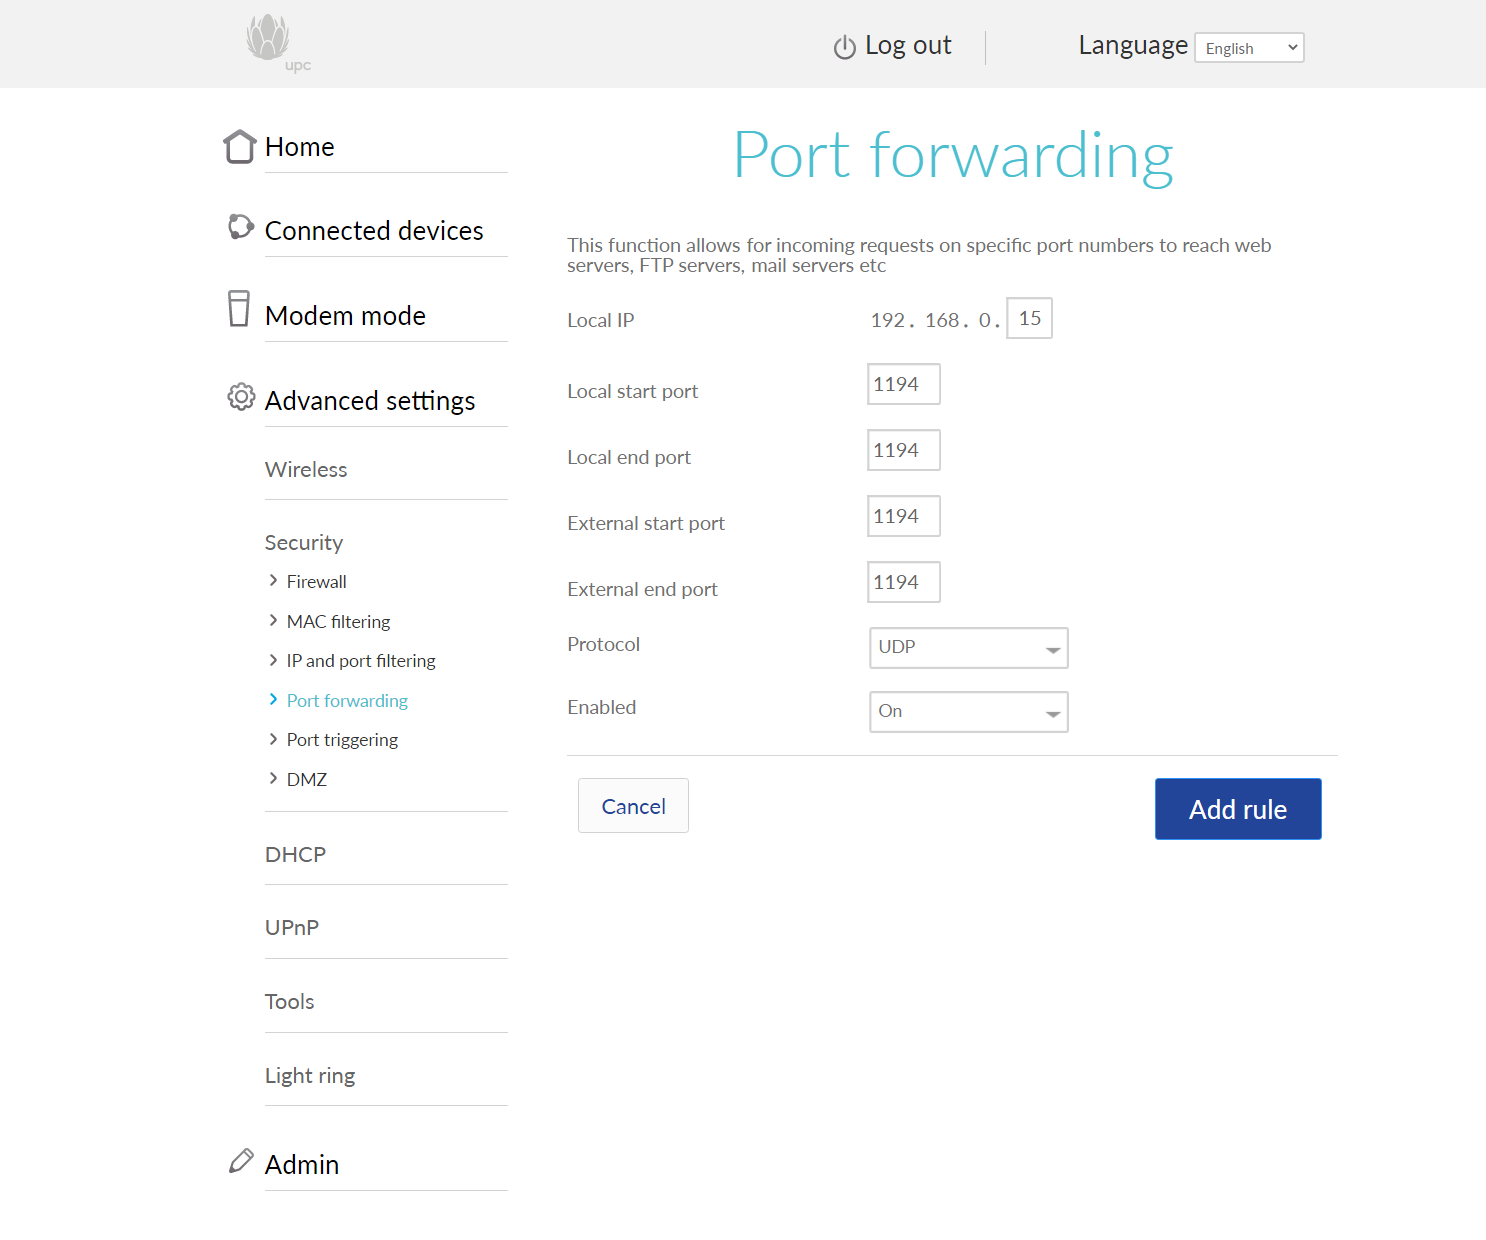
To be able to connect from the outside, we have to expose the server’s ports, which can be done in your router’s settings. This will be different for other routers though.
Here you can see my configuration for a UPC router:

Connecting to the server
Go ahead and download the OpenVPN Client application here.
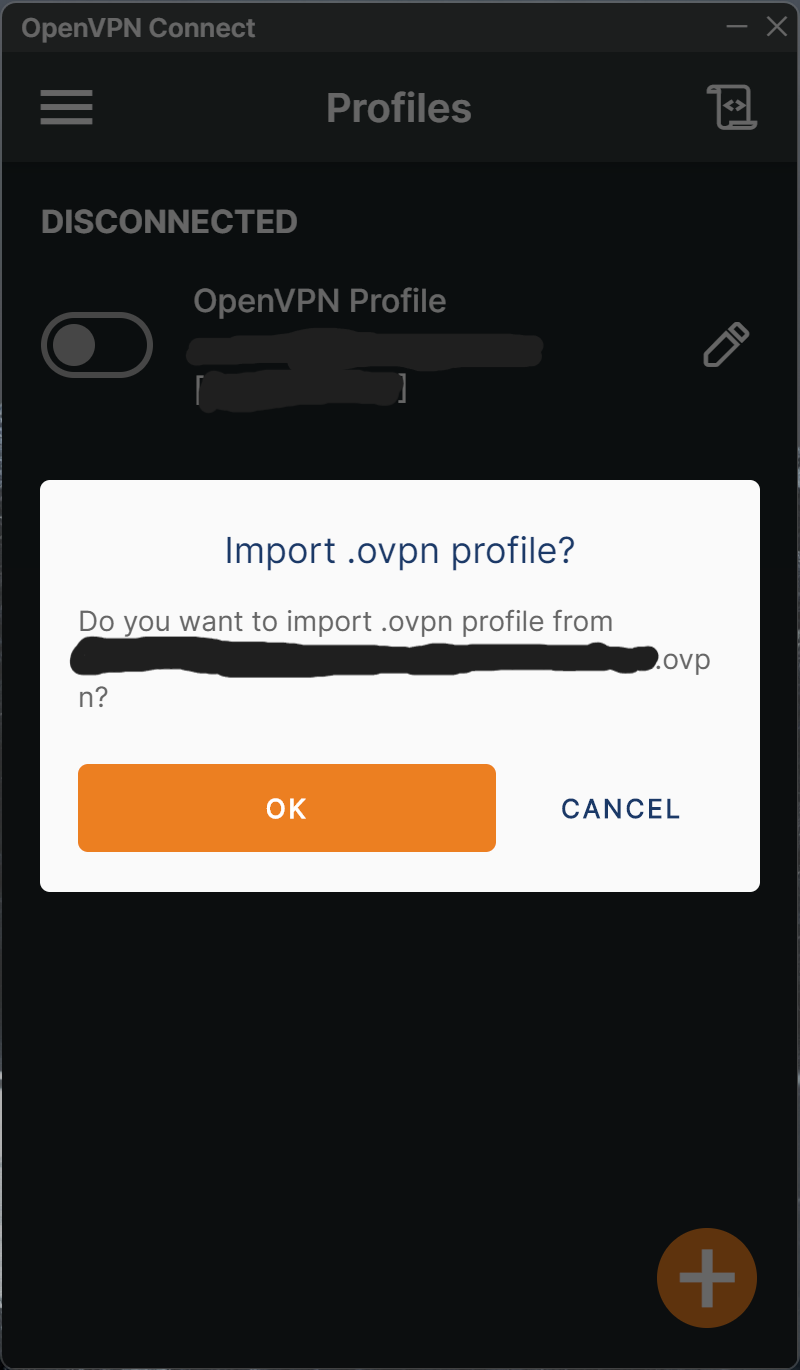
After you’ve installed it, you can open the previously created .ovpn file with OpenVPN Connect. Click OK to import:

Finally, click on the configuration to connect to it.