Disclaimer
All information and material provided by this site is solely for educational purposes. I do not encourage, promote, or condone any illegal acts.
Introduction
Android introduced Factory Reset Protection (FRP) with Android OS Version 5.1. When a Google account has been registered on a device and it is factory data reset in an untrusted environment (e.g. from recovery mode), the FRP lock will trigger, preventing setting up the device without authorizing it from the registered Google account.
If someone doesn’t have access (anymore) to the Google account which has been registered to their device, there are limited options available to reset the device. Although many forums claim that removing the FRP lock is impossible, I have managed to do it and would like to share this achievement.
In this post, I have made sections so that if (in the future) a step requires a different approach, you can continue with the next step assuming it hasn’t changed also. My instructions guide you through this process on a HUAWEI MediaPad T5, but you may apply a similar strategy when doing this to a different Android device.
Factory Data Reset
To factory data reset the device, follow the following steps.
⚠ WARNING: THIS STEP CANNOT BE UNDONE AND WILL ERASE ALL DATA FROM YOUR DEVICE.
- Shut down the device by holding the power button for more than 3 seconds and tapping “shut off”.
- Press and hold the volume up and power button.
- Release the power button when the huawei logo appears.
- When the device is in recovery mode, you can release the volume up button.
- Tap the “Wipe data/factory reset” button, type “yes”, and click the button with the same label again.
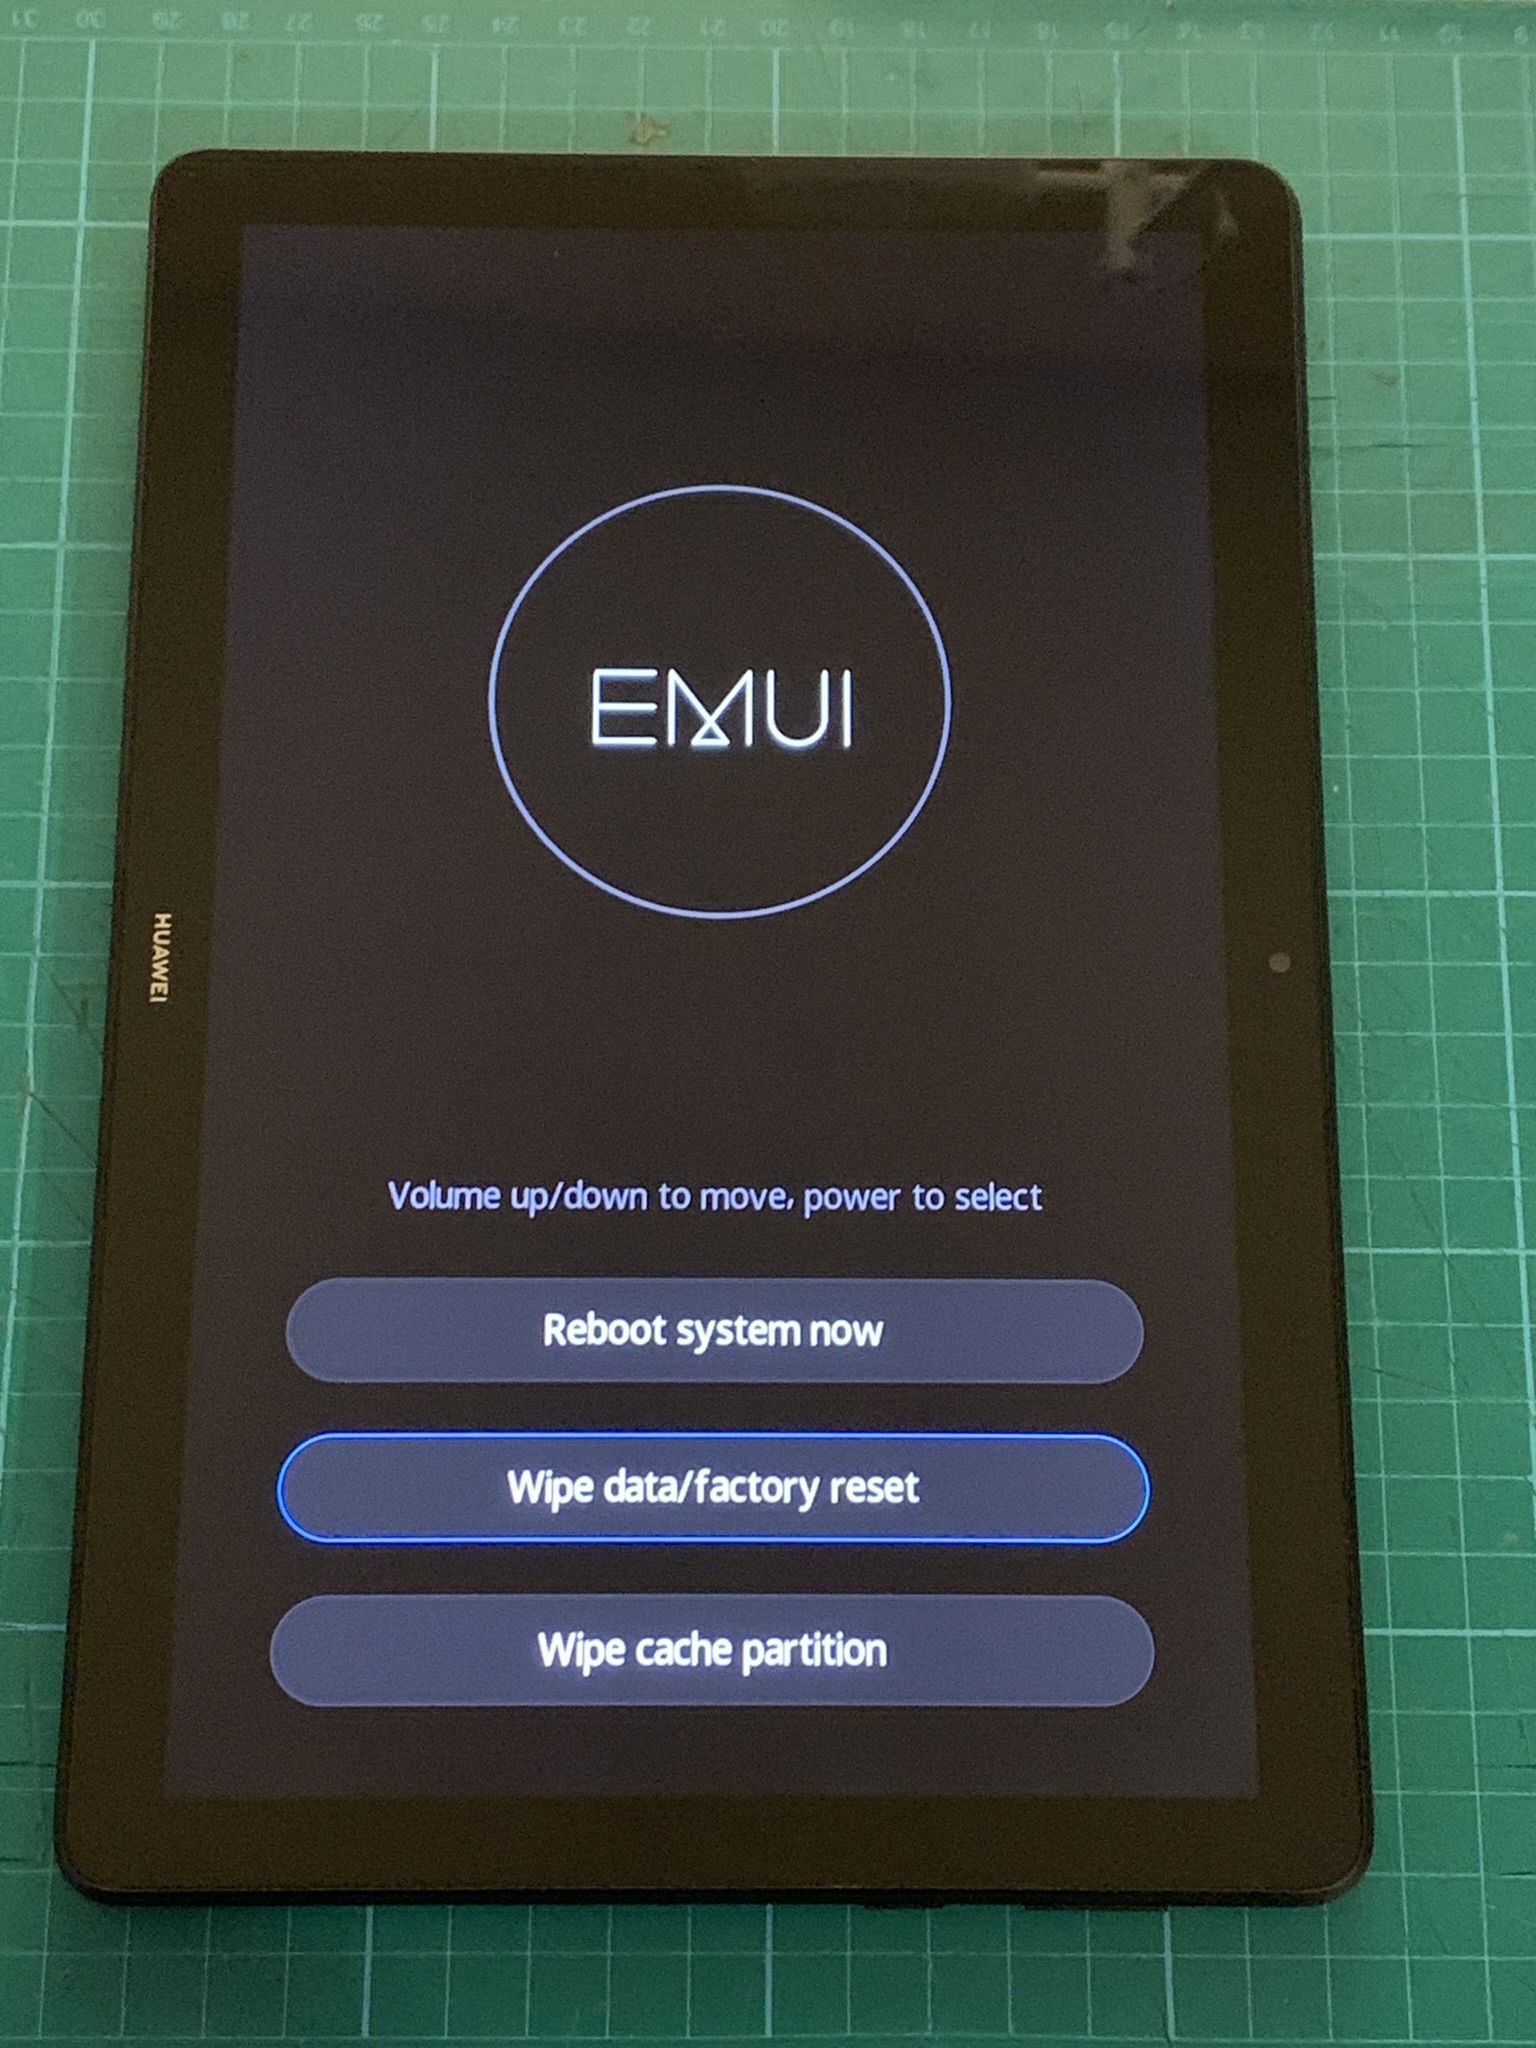
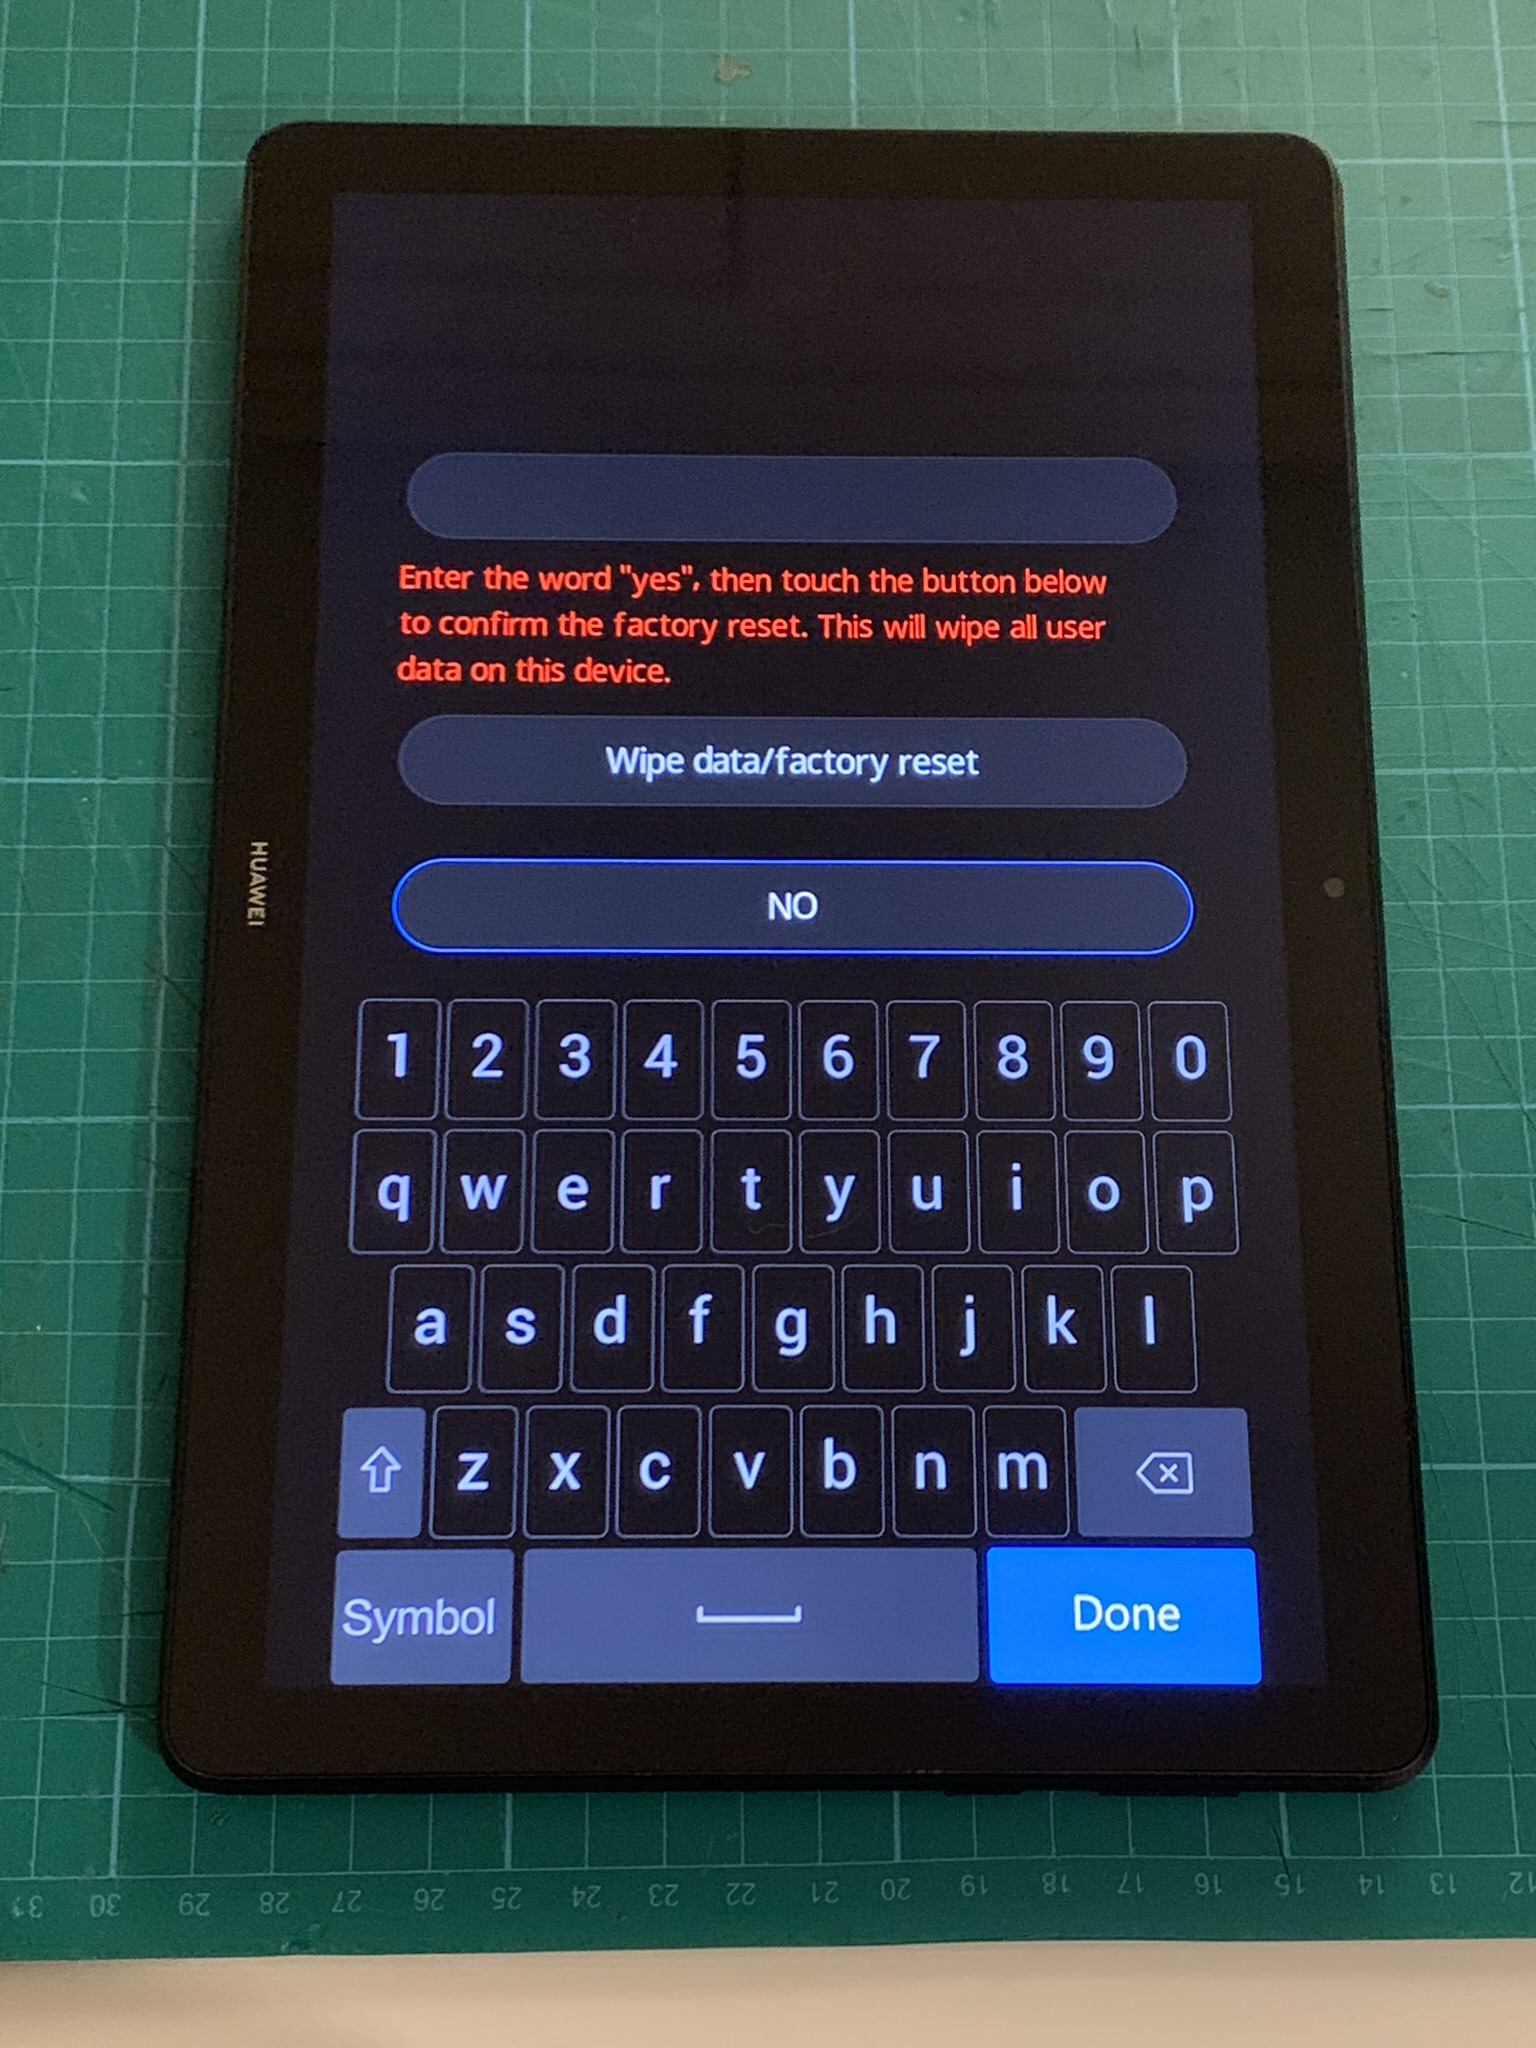
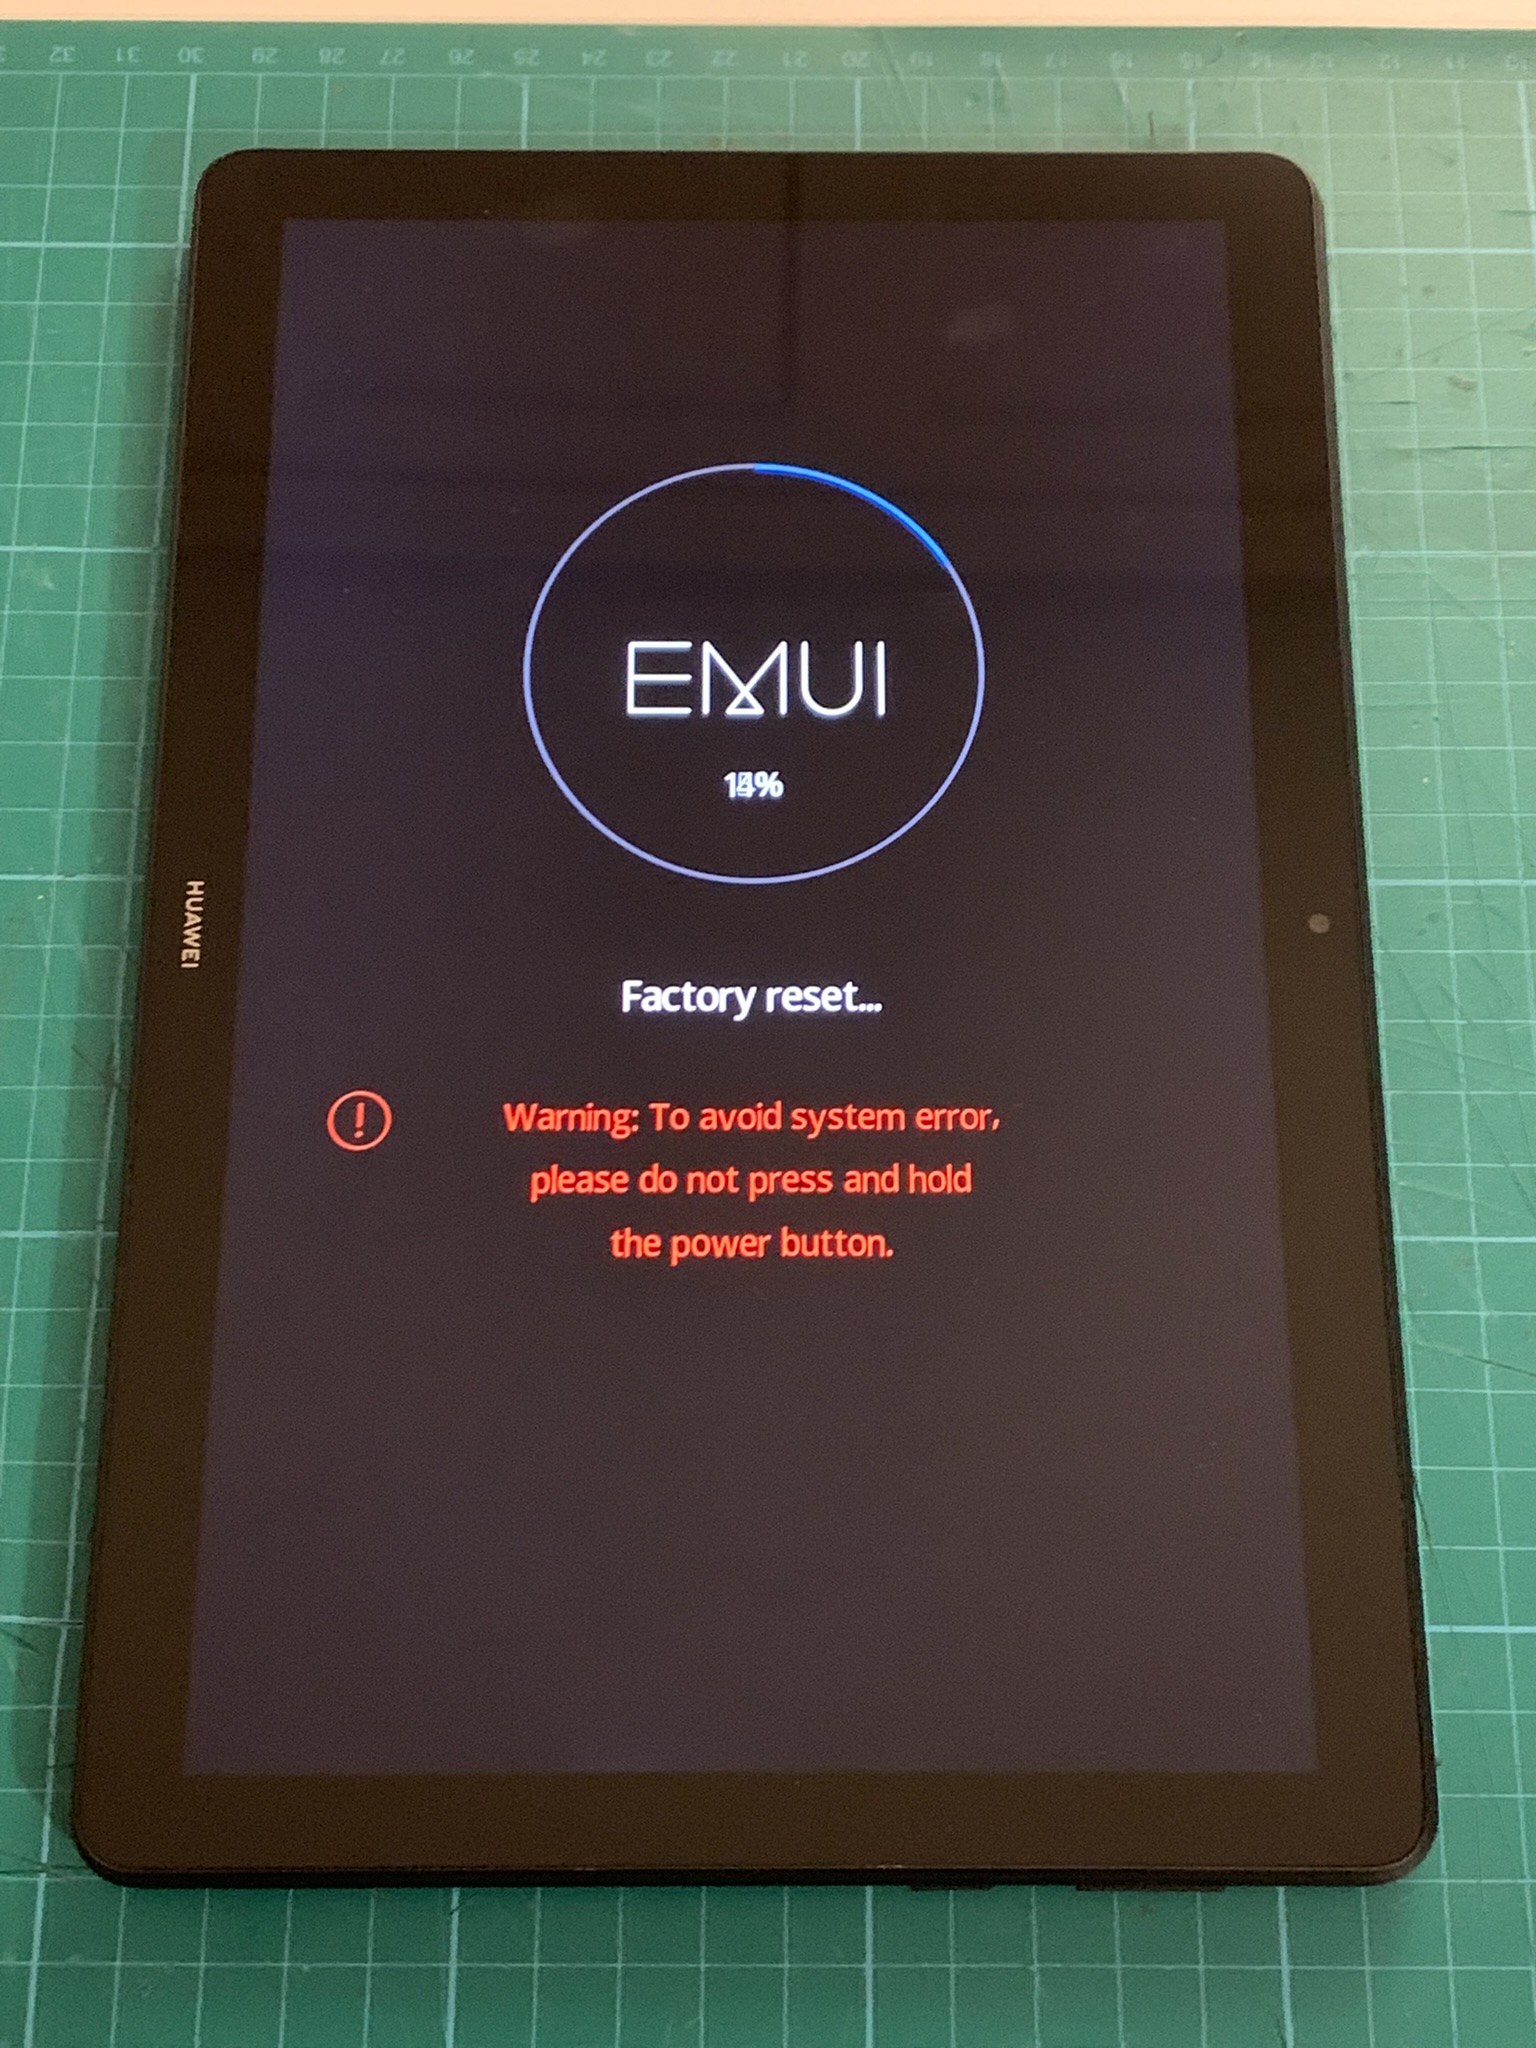
- After it goes back to the recovery mode screen, tap “Reboot system now”. Rebooting might take a few moments.
- You will be greeted with a prompt to set the language.
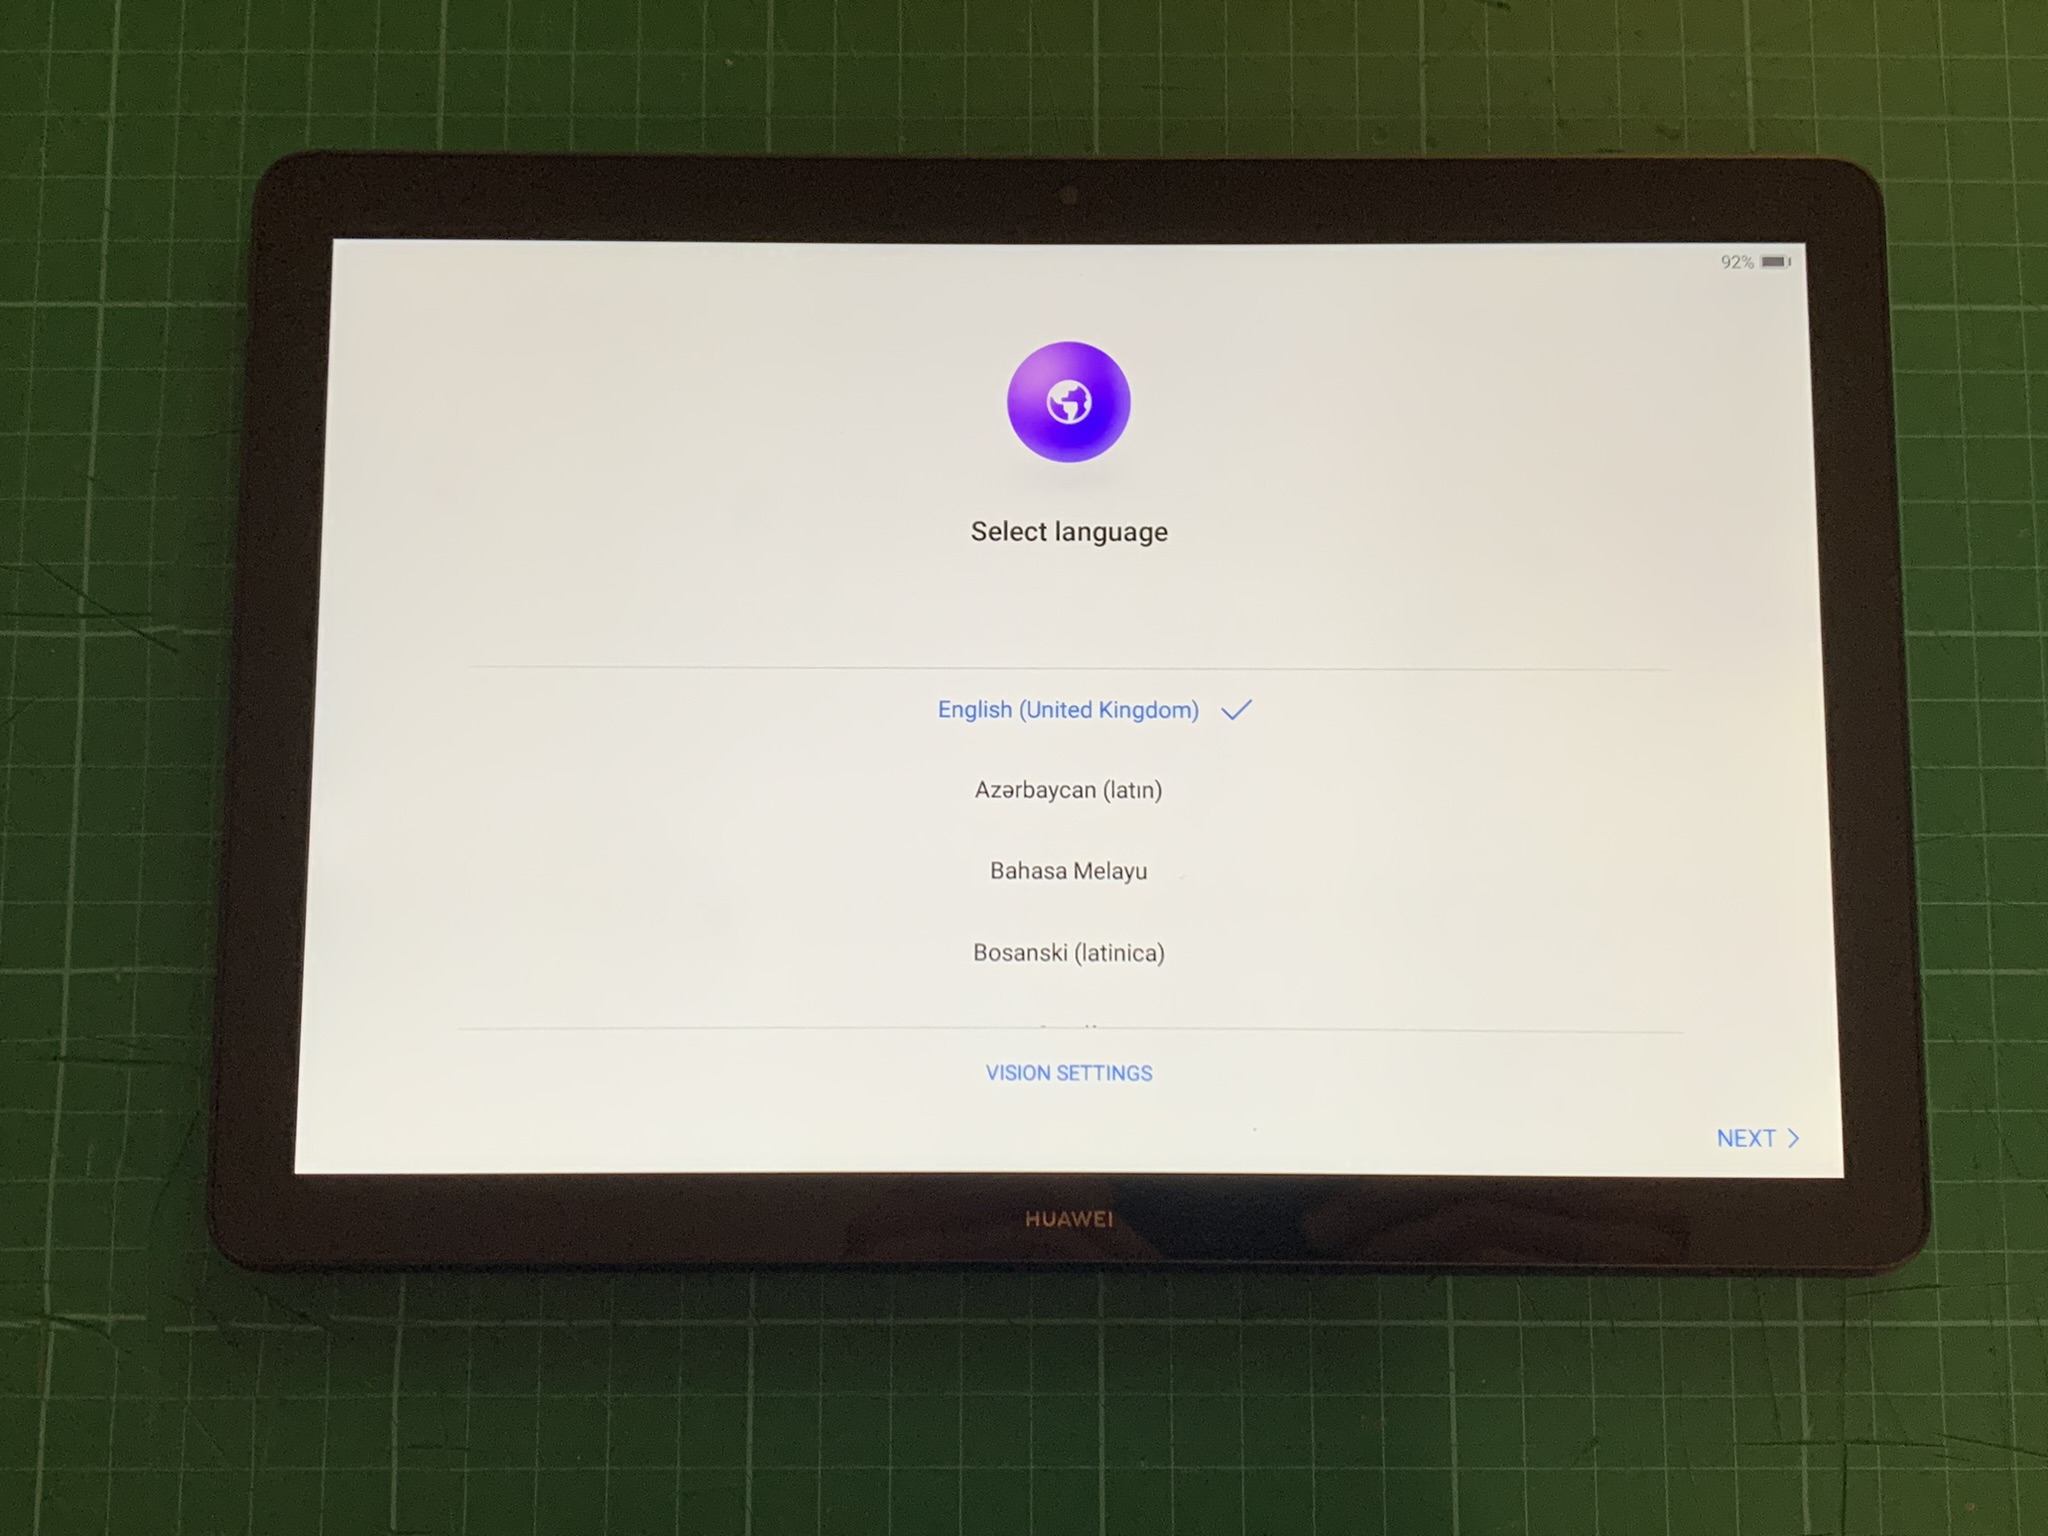
- If you try to set up the device in this state, it will ask you to sign in using the Google account which was registered to the device.
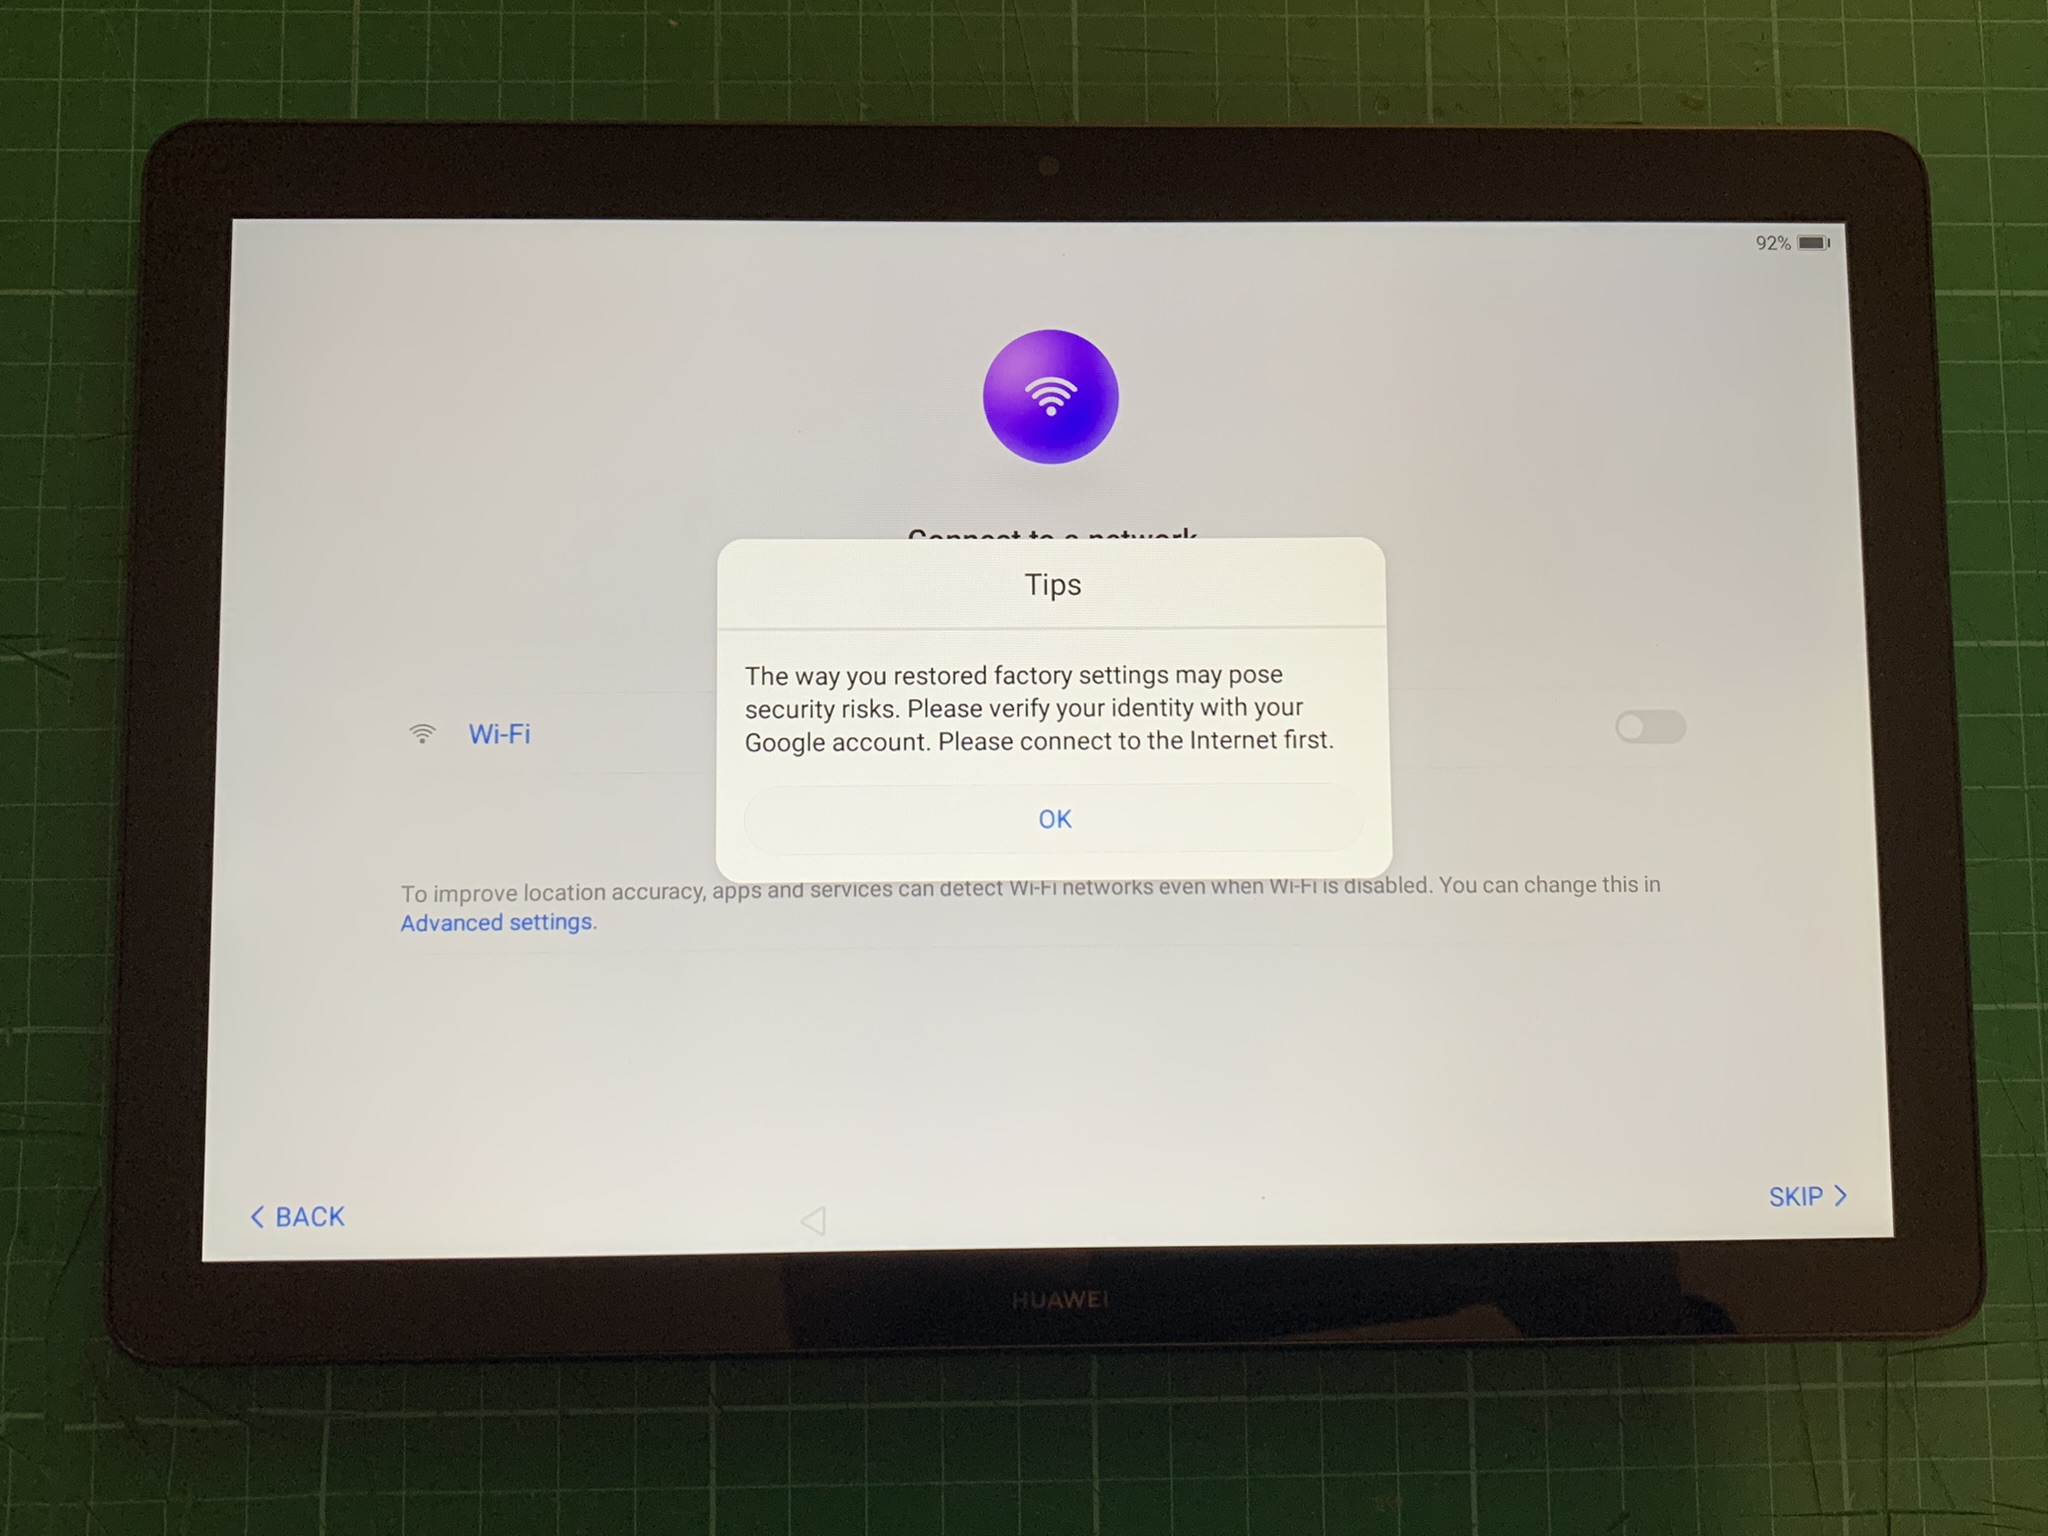
Unlocking the Bootloader & Erasing FRP
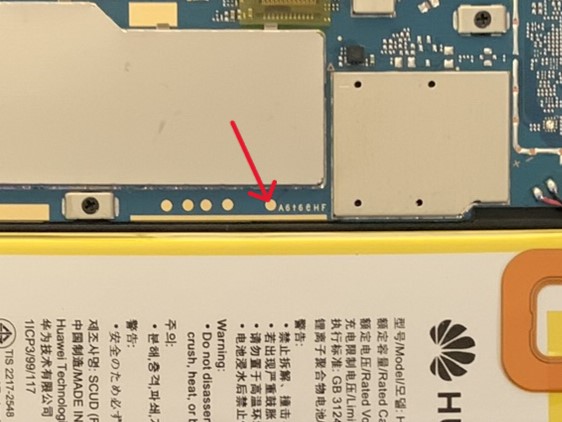
To unlock the bootloader you will have to short a testpoint on the device’s motherboard to ground. Thus, you have to remove the screen in order to make the testpoint accessible.
Opening the Device
First, make sure the device is fully shut off.
You will need a guitar pick, a plastic card, or a plastic prying tool (recommended).
It might be confusing where to start prying, because the device consists of multiple layers. You need to separate the small plastic rim around the display (beneath the display glass) from the plastic device housing.
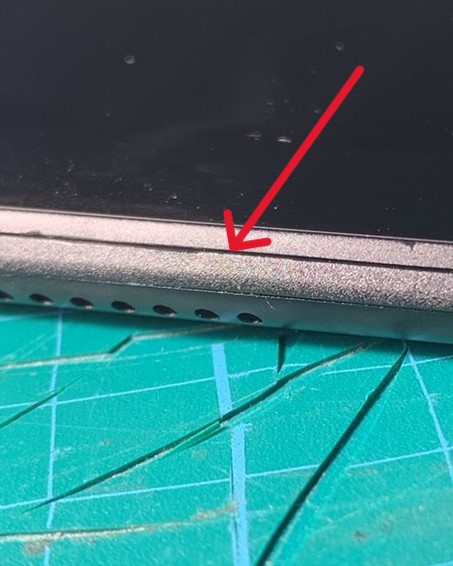
Be very careful as the display cracks easily.
Start by instering the prying tool at the bottom of the device beneath the HUAWEI logo and carefully make your way along the edges. You may continue at another side as the corners are more tricky, especially the top corners.
Push and bend the housing outwards using your prying tool to unlock the clips.
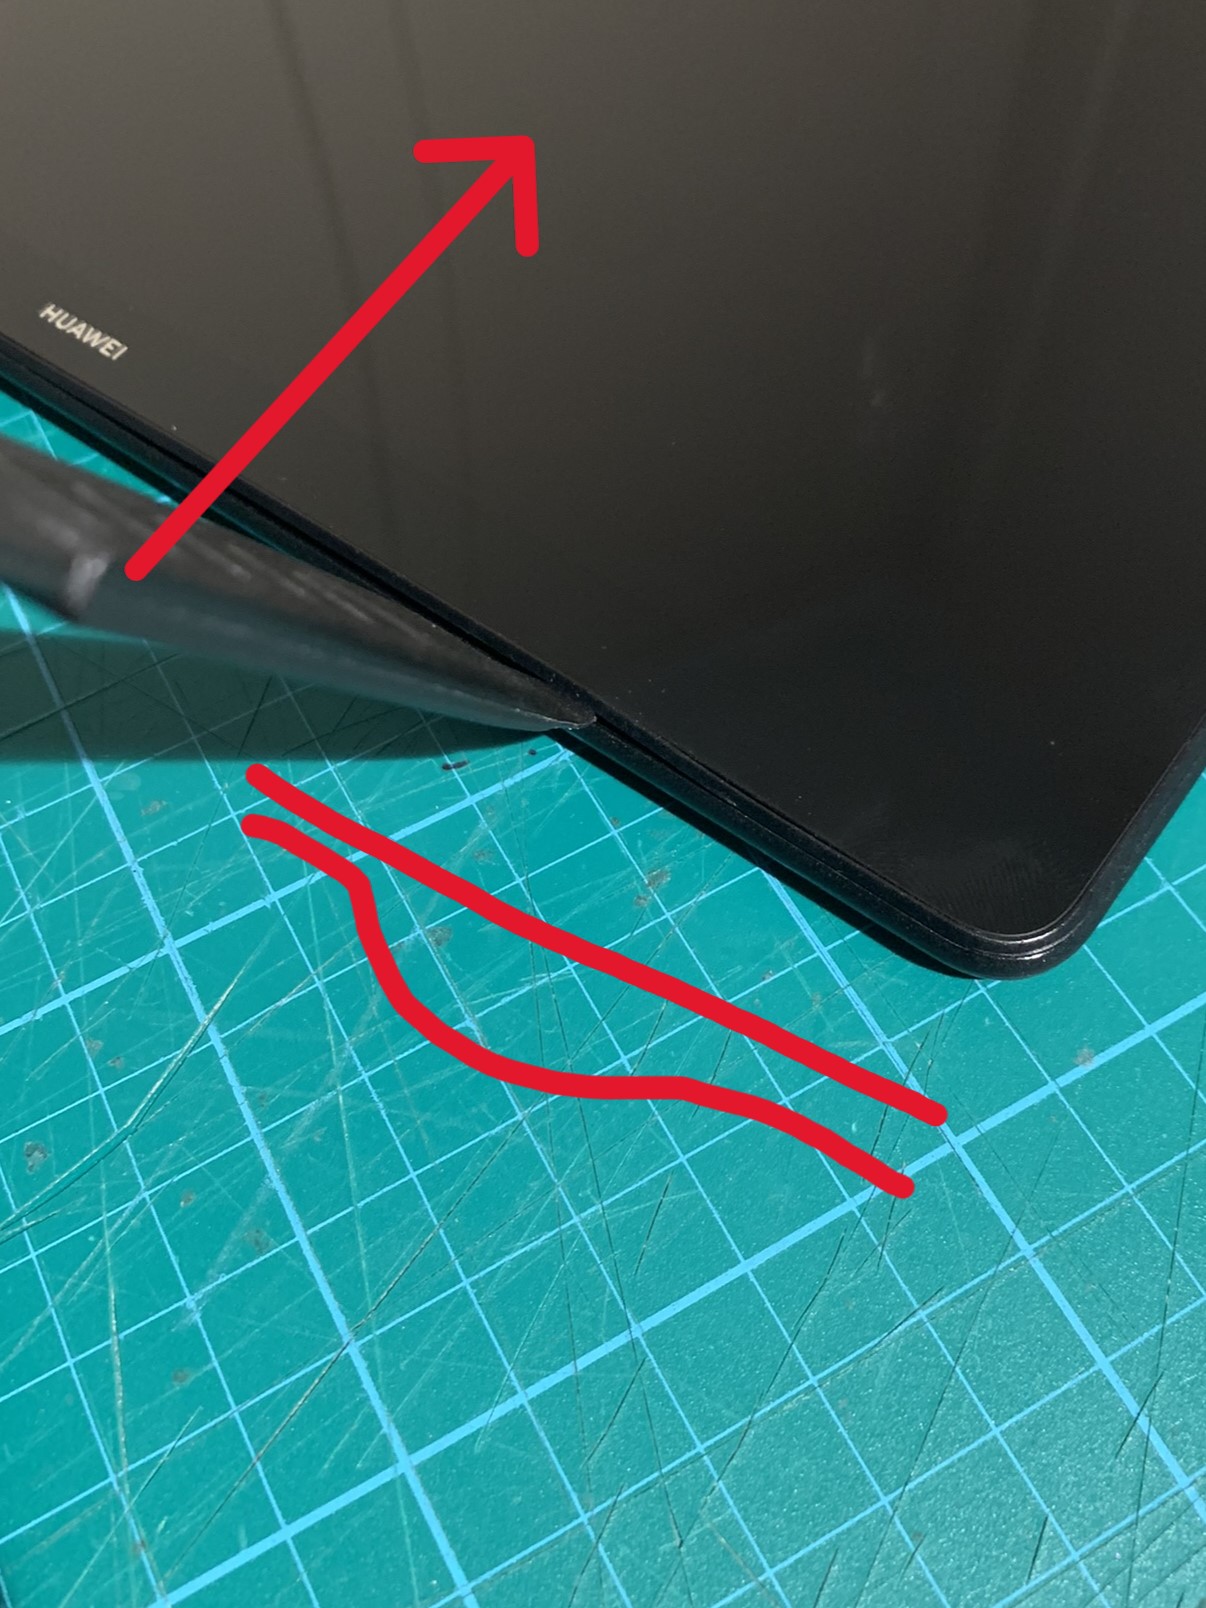
Watch out when lifting the display because it is connected to the motherboard by a fragile flat cable.
Installing Tools
For unlocking the bootloader, you need a PC and the following tools. Unzip/Install them.
Unlocking the Bootloader
Triggering DOWNLOAD_VCOM mode
-
Make sure the device is shut down.
-
Connect this test point to ground (e.g. the metal shield). I’m simply using a wire.
-
Plug the USB cable going to your computer into your device while still grounding the testpoint.
-
Wait about 3 seconds. Now you can remove the wire you used to ground the testpoint.
-
The device should start to a black screen. If you see anything on the screen it didn’t work.
-
The device should show up in Device Manager as a COM port. If it is not recognized, make sure you installed the testpoint drivers correctly.
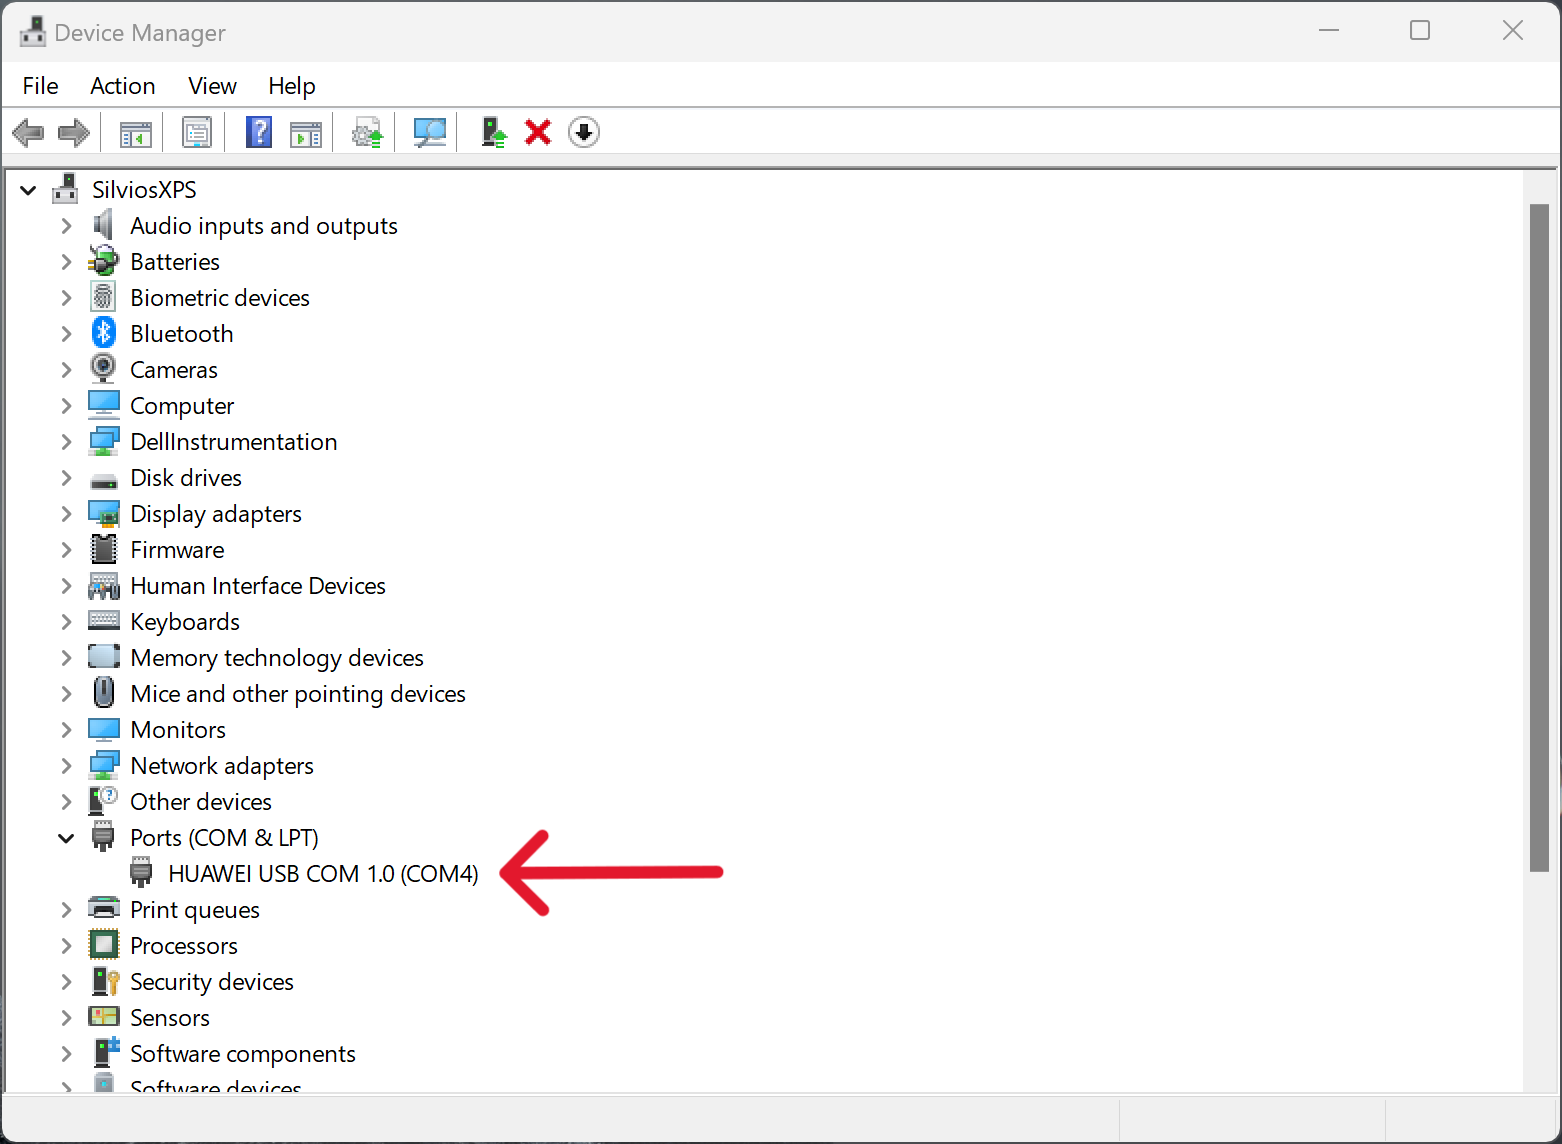
PotatoNV
- Run PotatoNV which you downloaded previously.
- Select the target device, select
Kirin 65x (a)as the bootloader, and check theDisable FBLOCKbox. - Click Start.
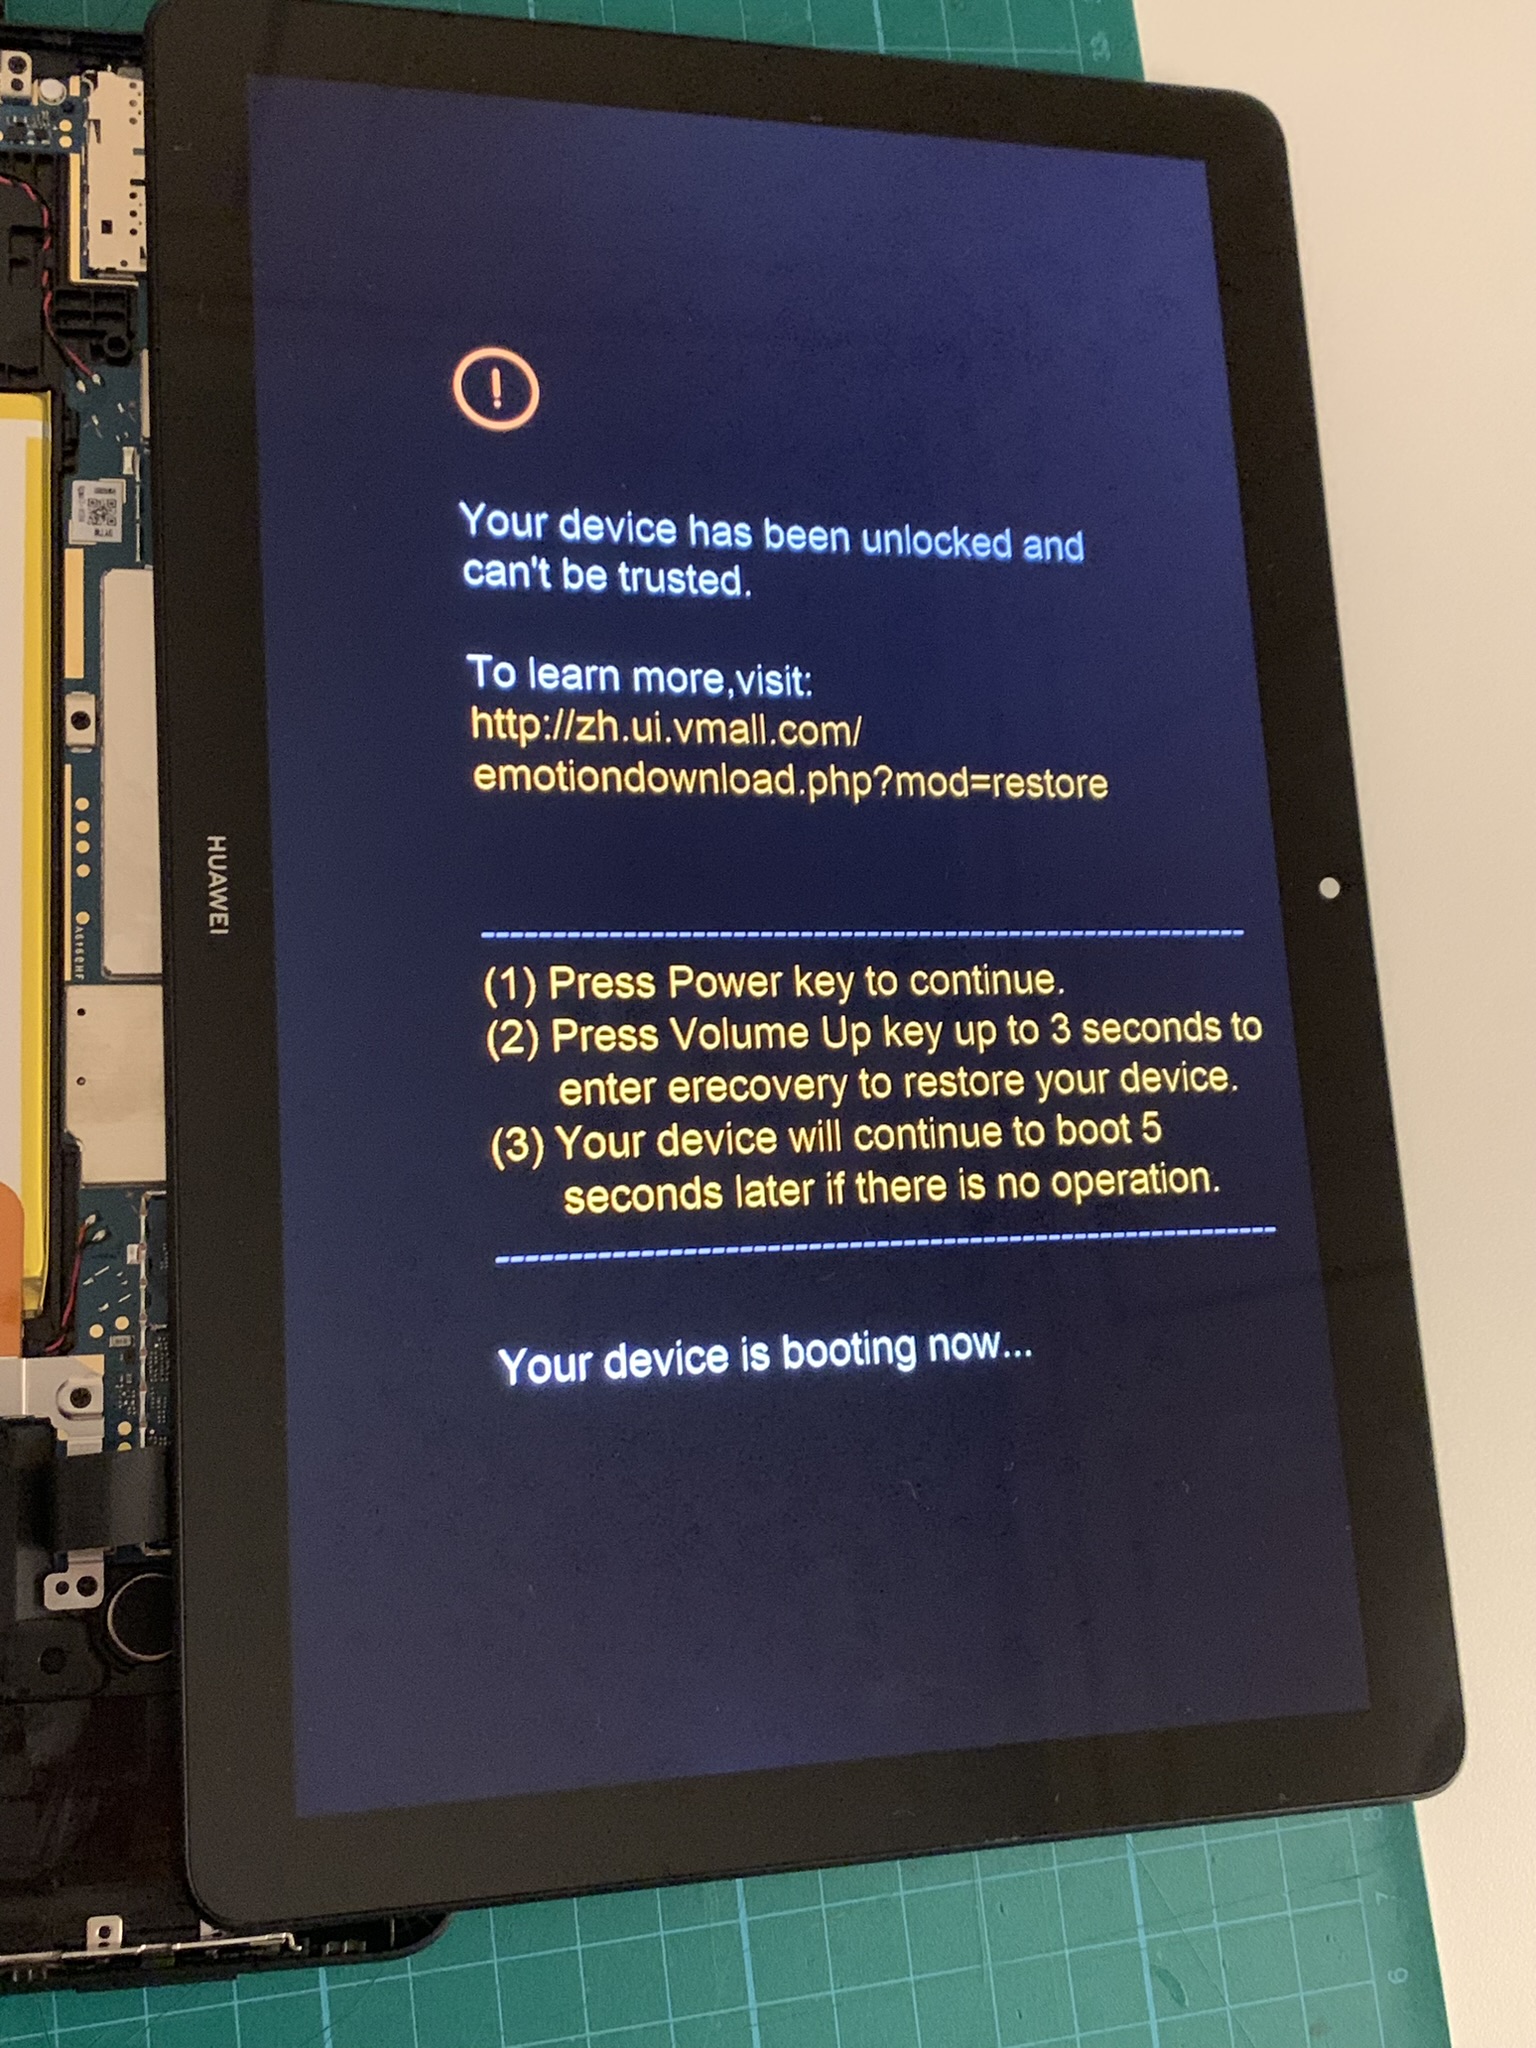
- The device might display a warning that “Your device has been unlocked and can’t be trusted.”, but will boot normally.
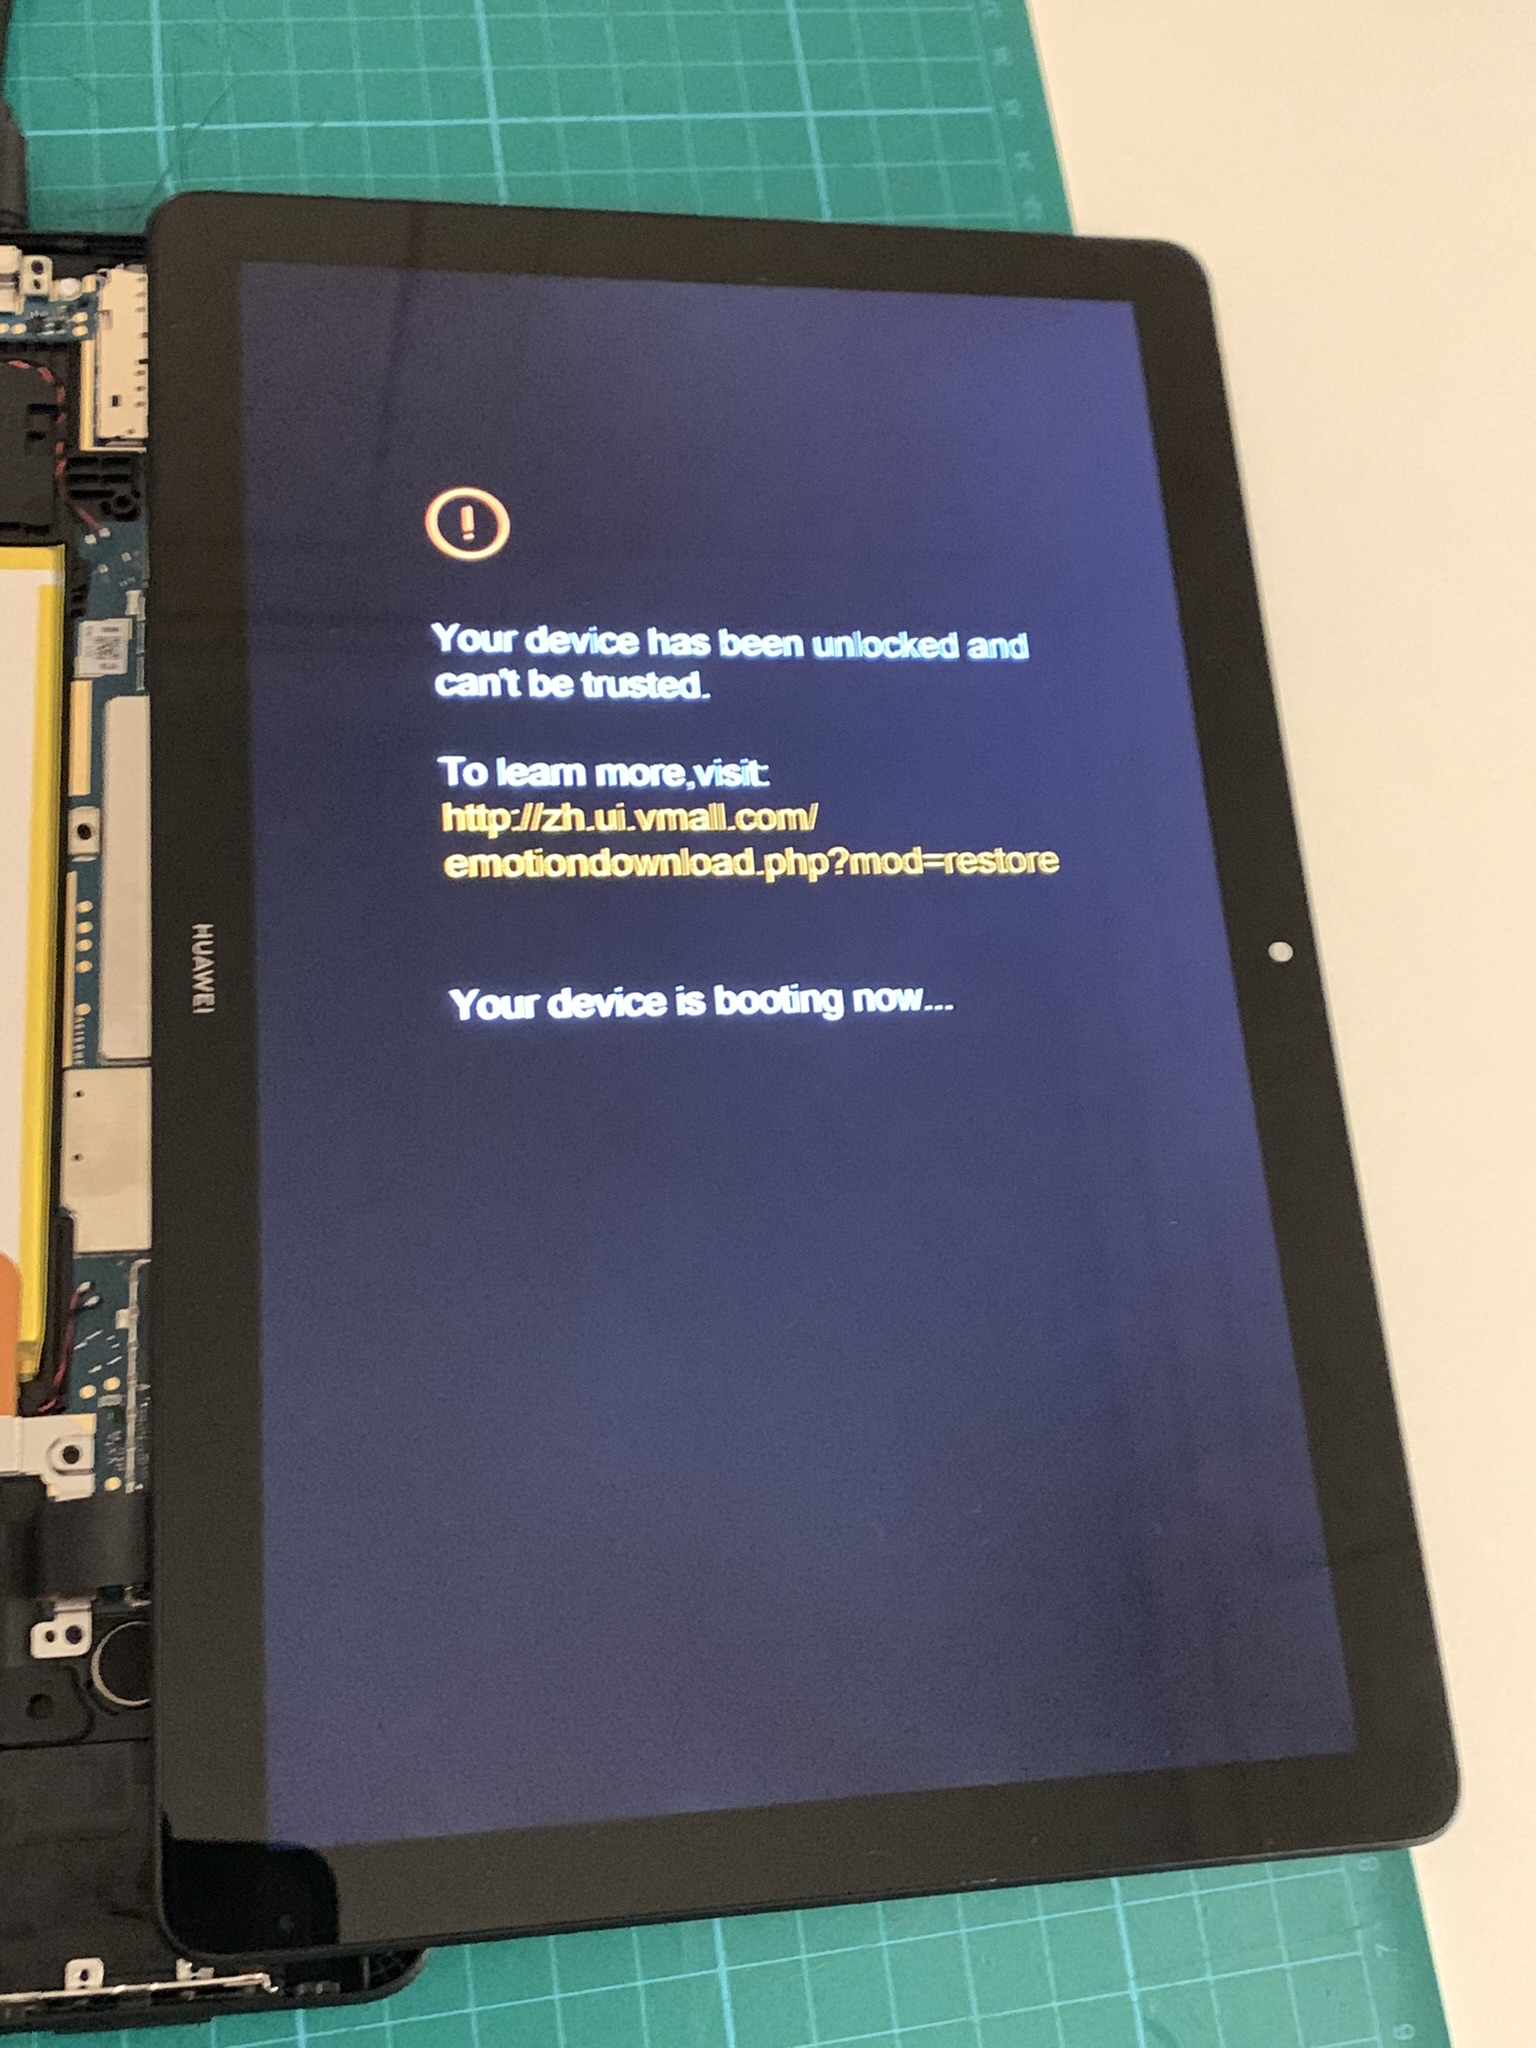
- After completion, make note of the unlock code from the output section in PotatoNV.
Fastboot & FRP Erasing
- Make sure the device is shut down.
- Press and hold the volume down and power button.
- You can release them after the “FASTBOOT&RESCUE MODE” shows up.
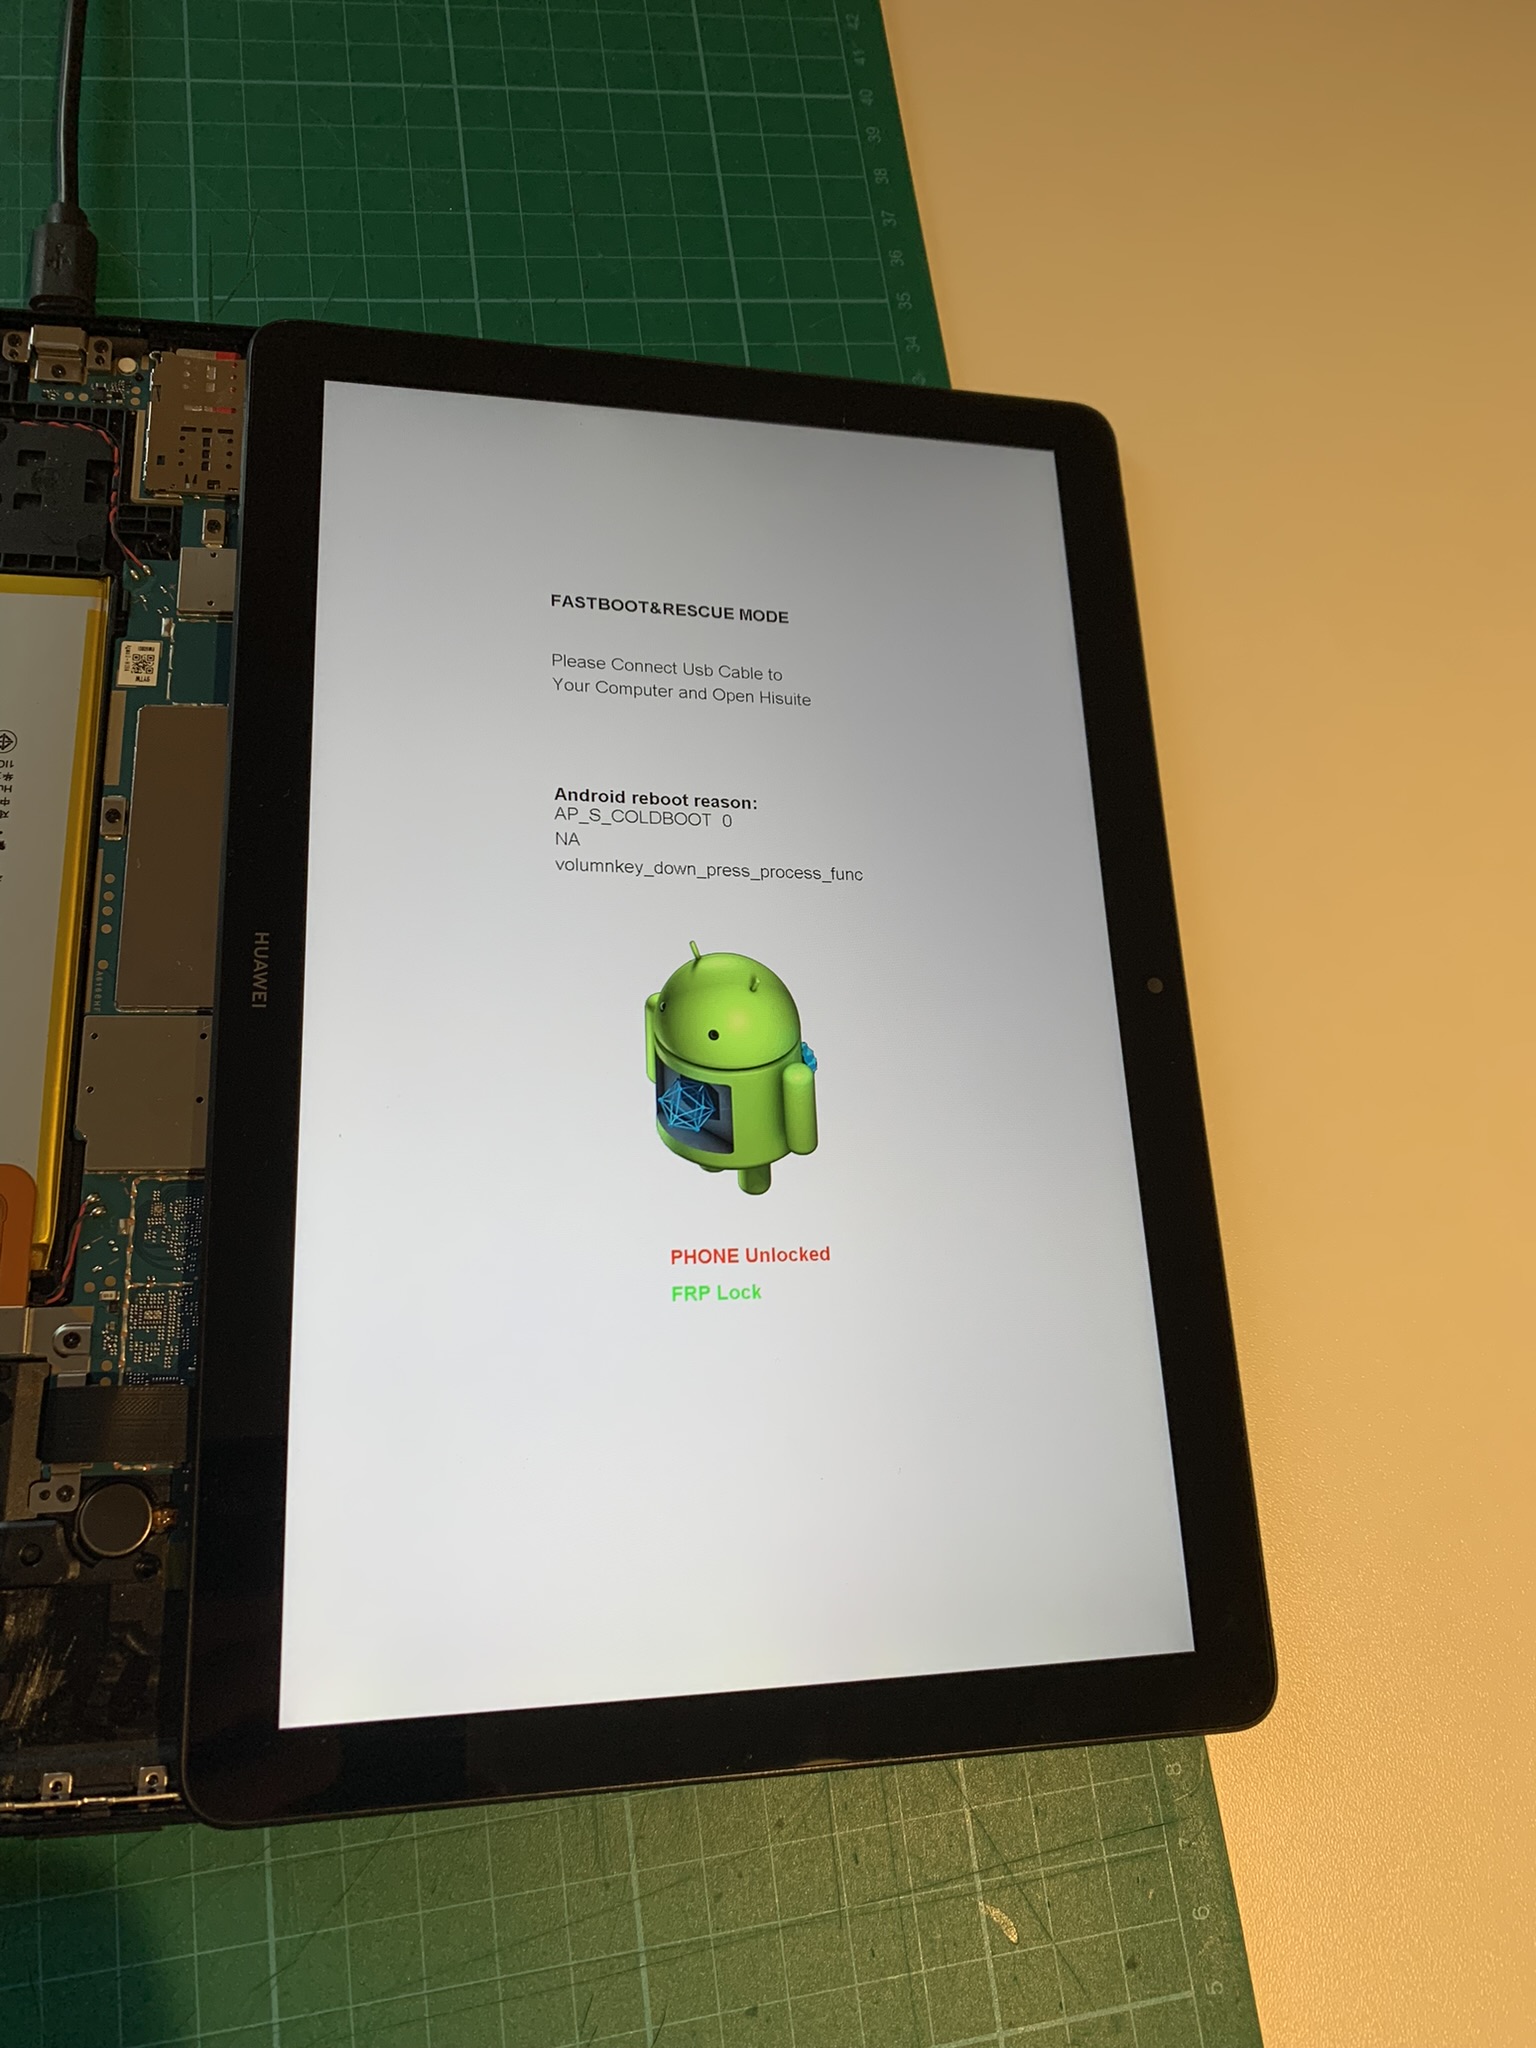
- Run the HUAWEI FRP Eraser Tool.
- Click the “FRP Erase” button.
- The device will show a warning again, then display that it is performing a “factory reset lowlevel…“.
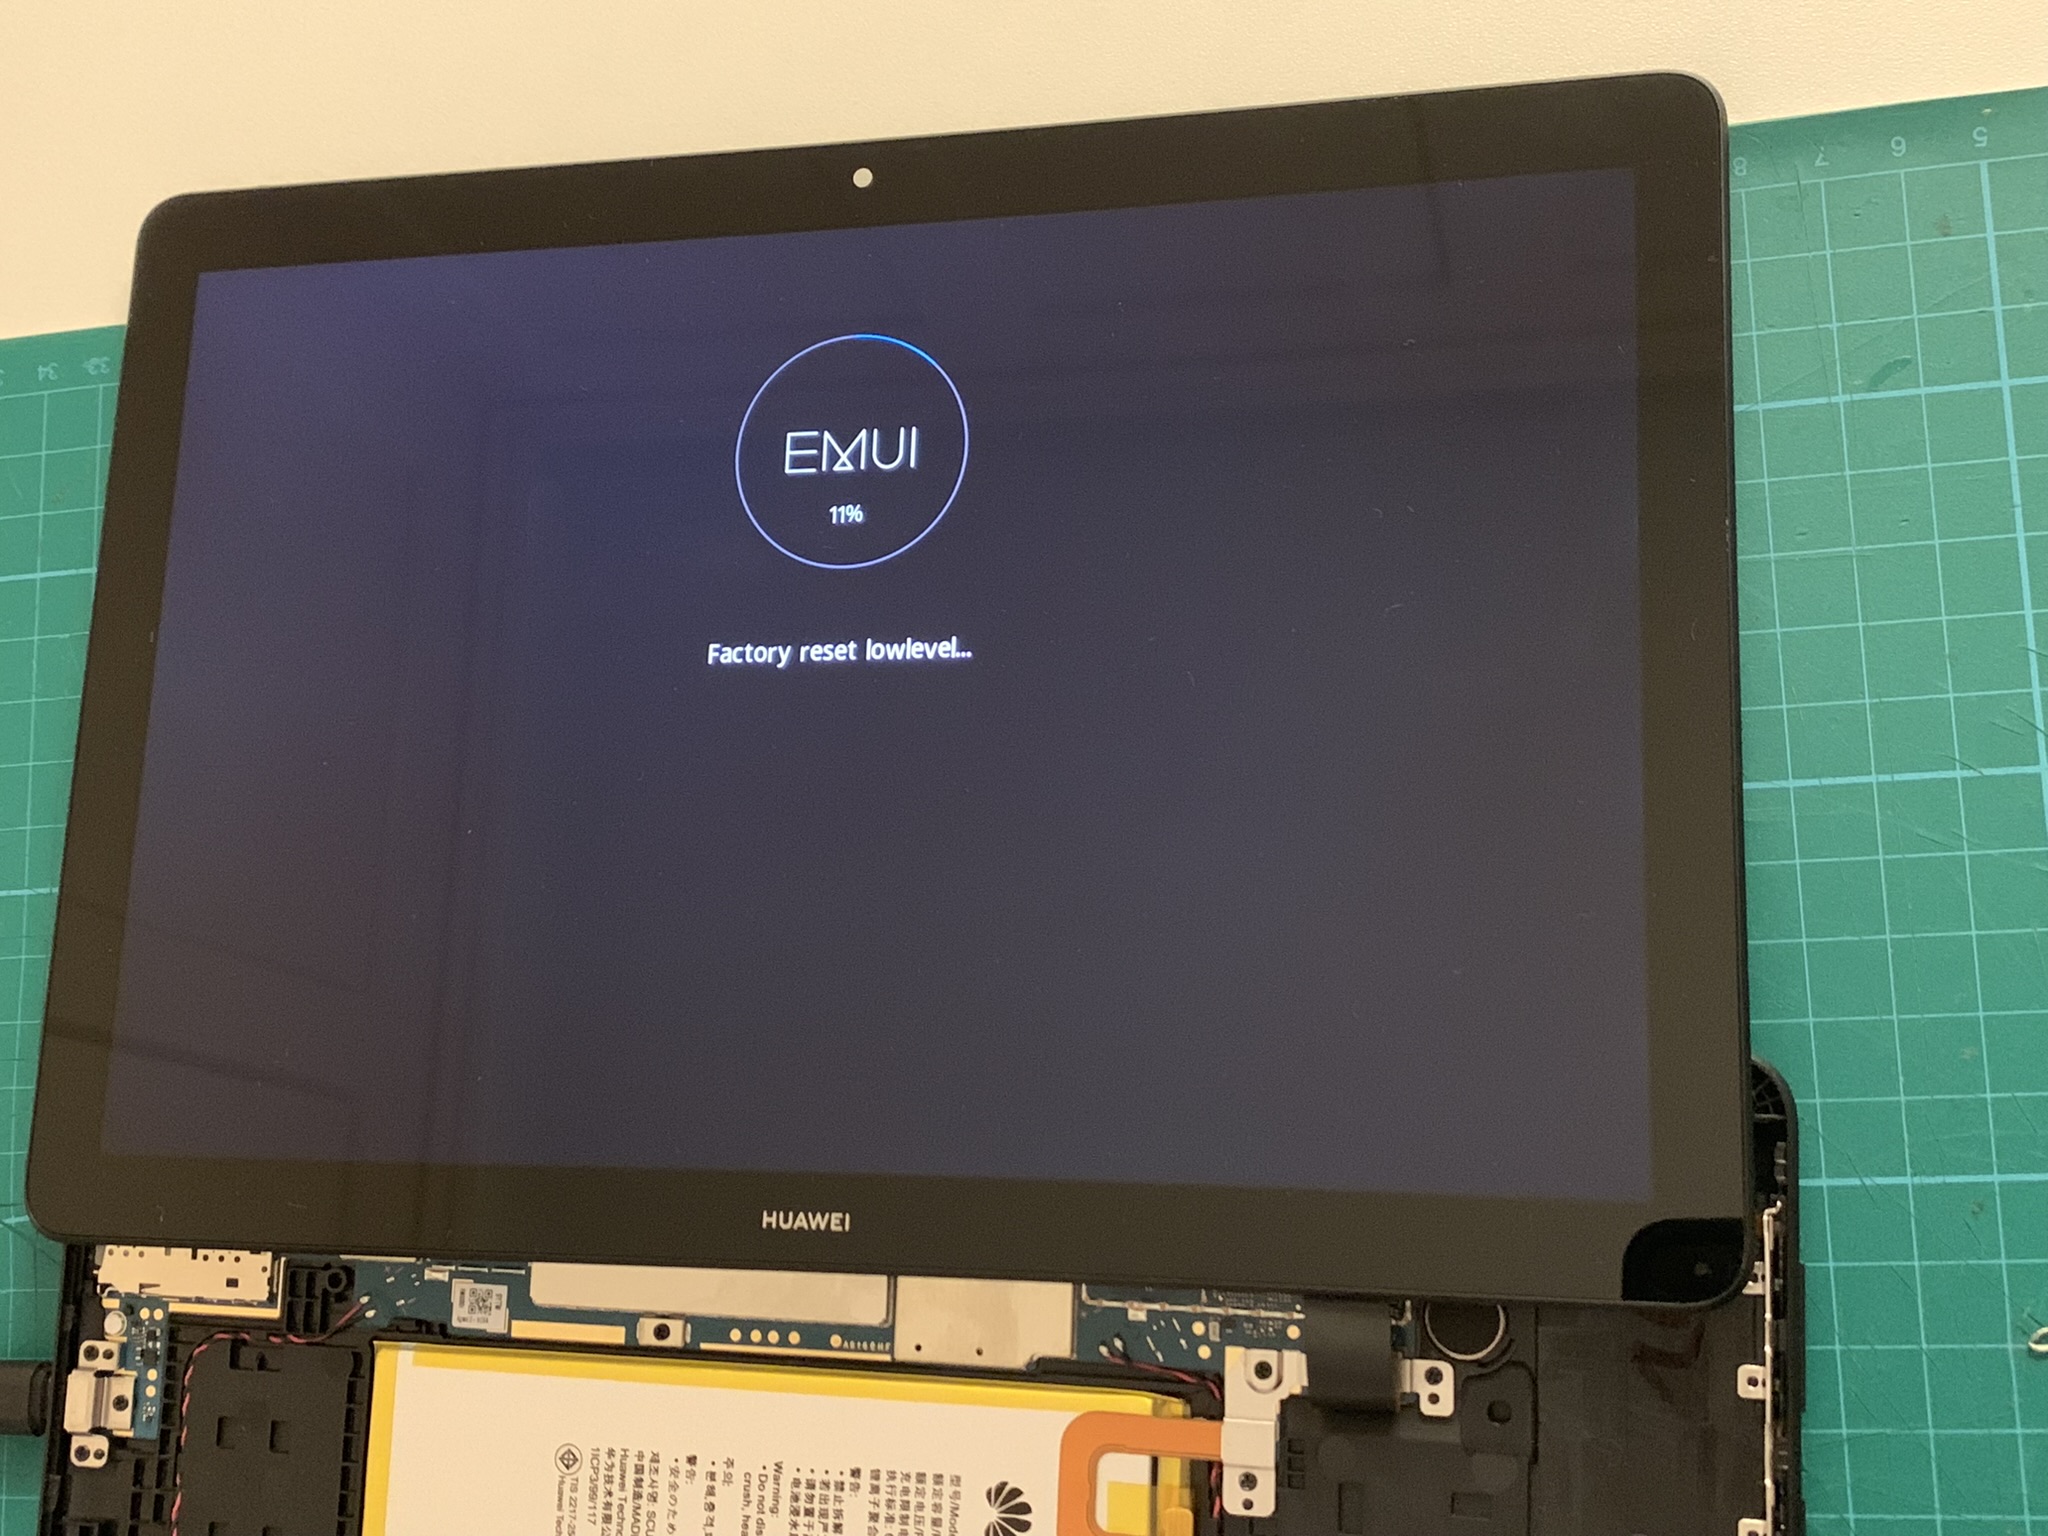
- After that, it will show a warning once again, then boot normally into the setup screen which might take a few moments.
- The HUAWEI FRP Eraser Tool will for some reason continue loading, even though the erase worked.
- The FRP will be erased, and should now be able to set up the device without any problems.
Have fun 😎!
Conclusion
Although many forums claim that it is impossible to erase the FRP, it turns out that there is a way to do so.
If you have any questions, uncertainties, or would like to give me feedback about my post, feel free to contact me through the contact information provided in my about page.